 MIKE HIGGINBOTTOM
A Digital Garden - frequent growth but a bit weedy in the back corner
MIKE HIGGINBOTTOMA Digital Garden - frequent growth but a bit weedy in the back corner
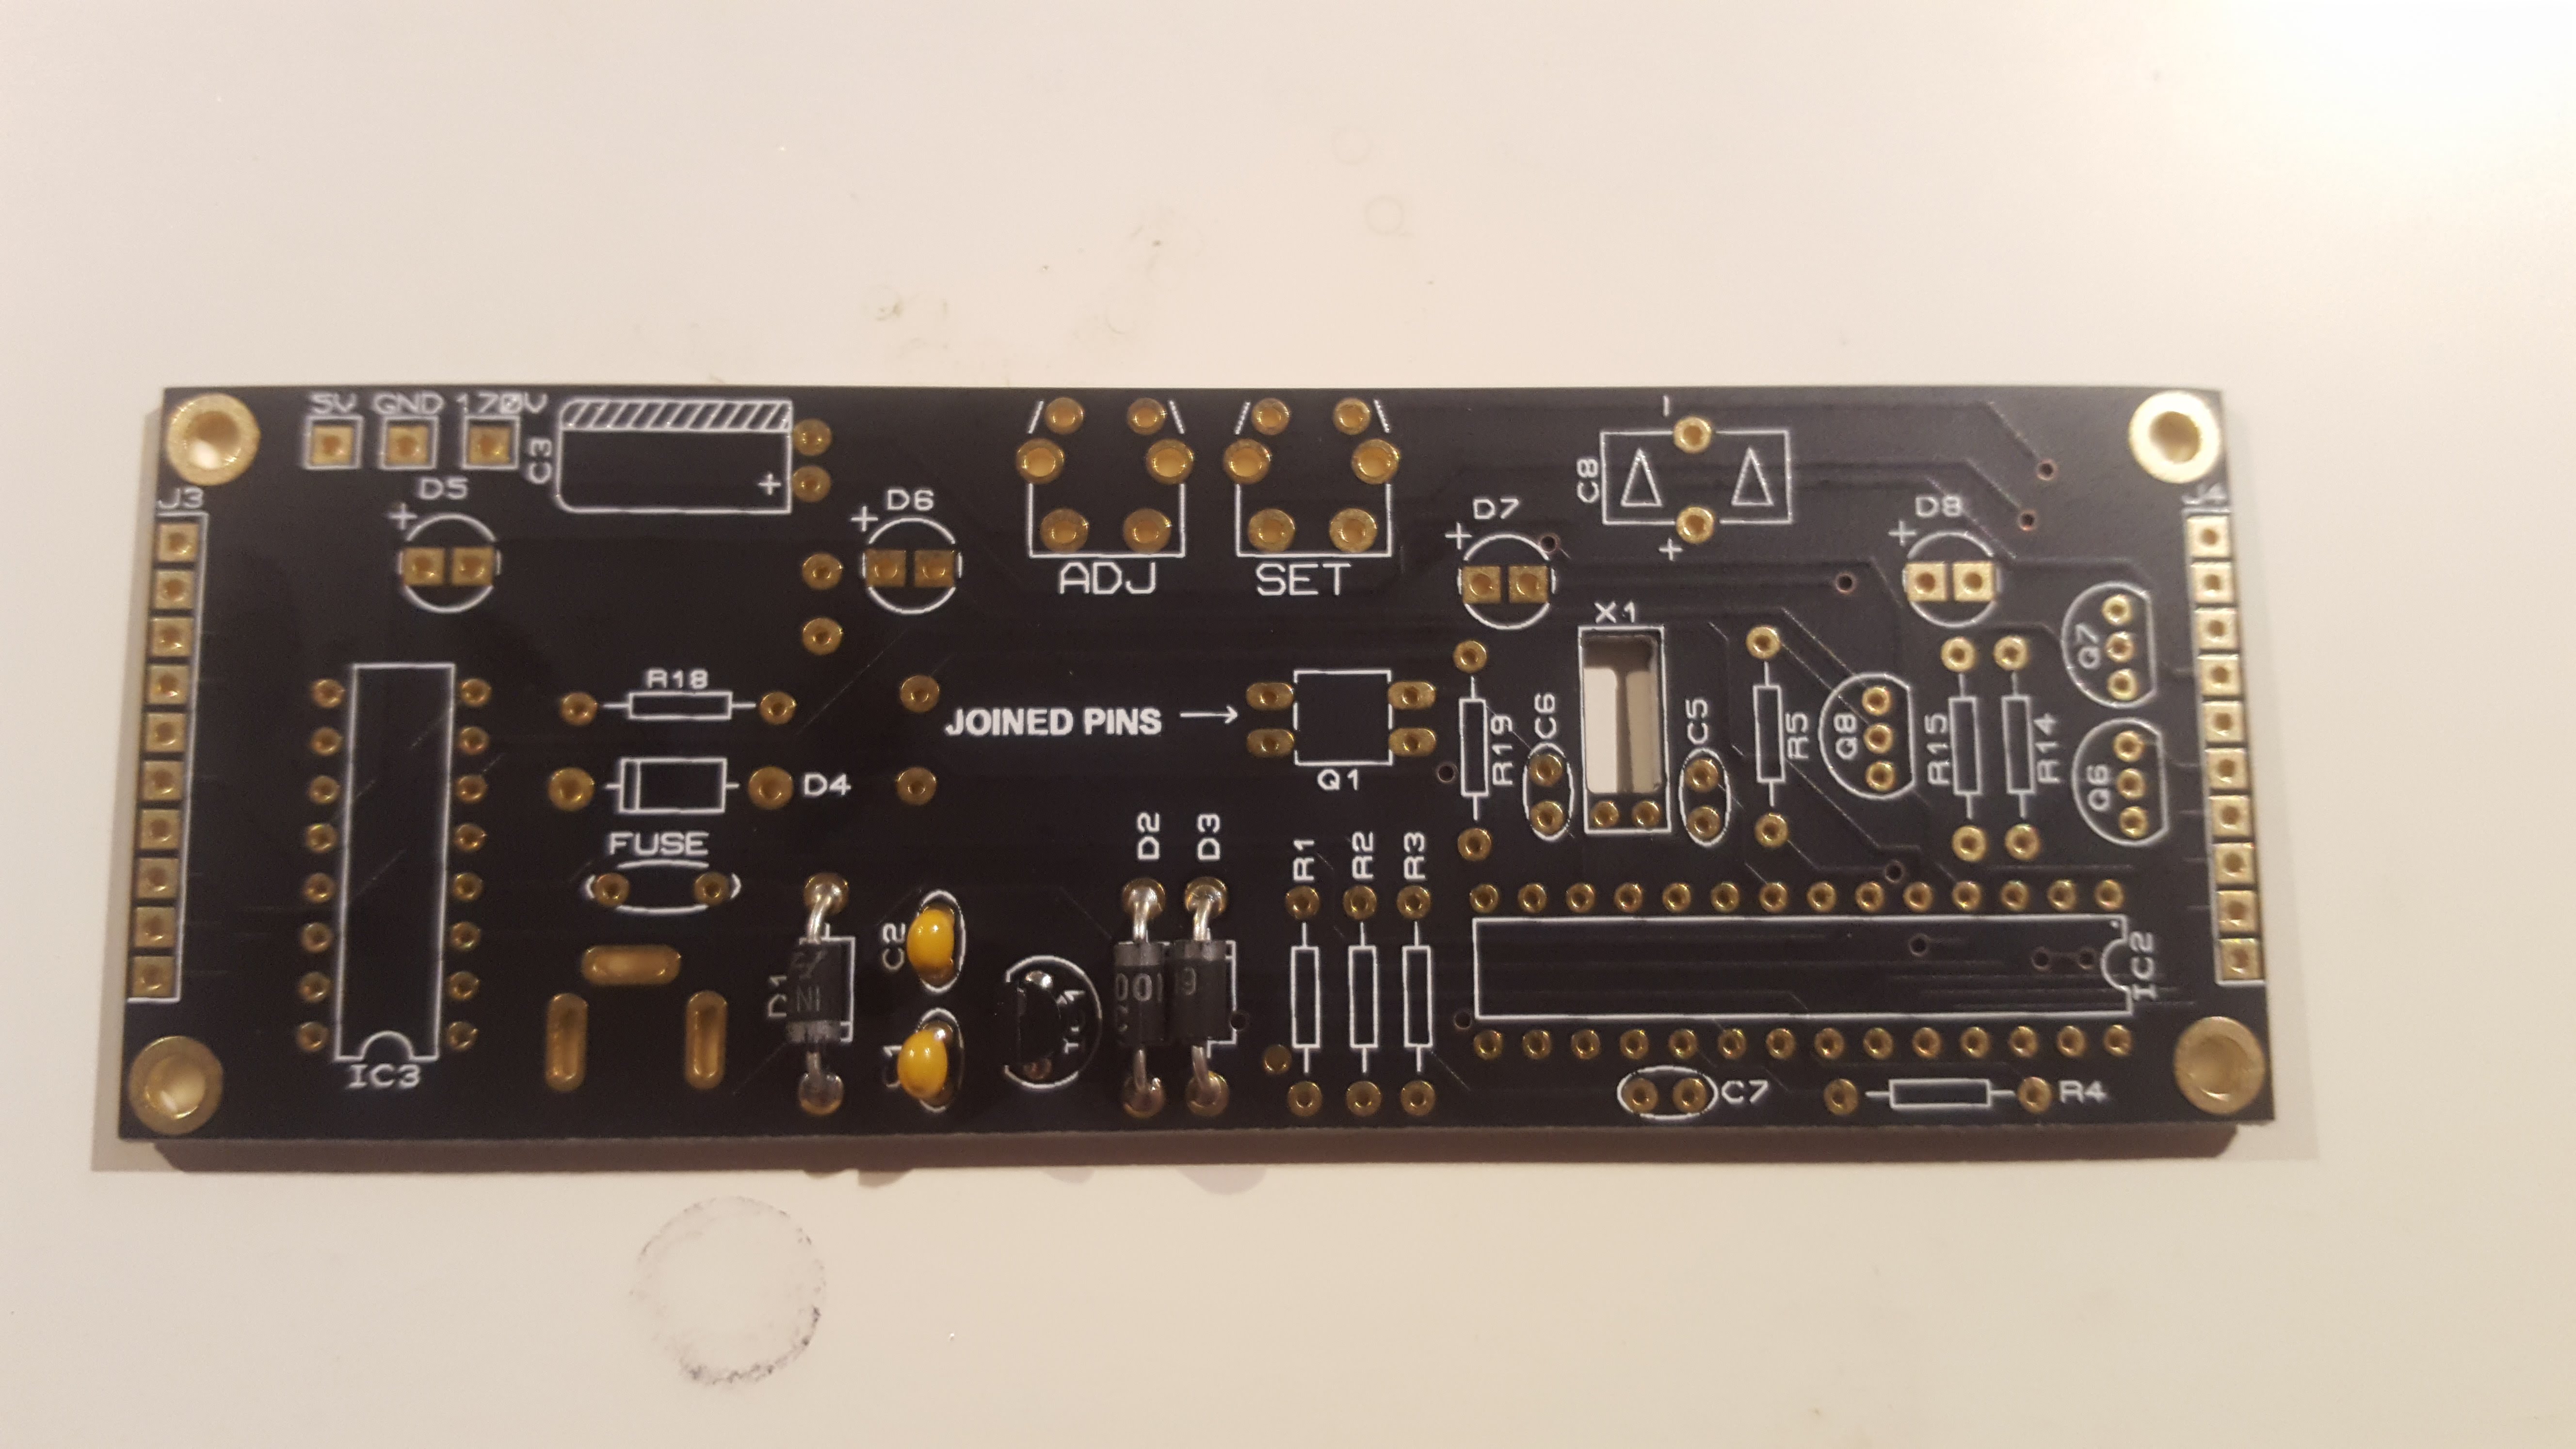
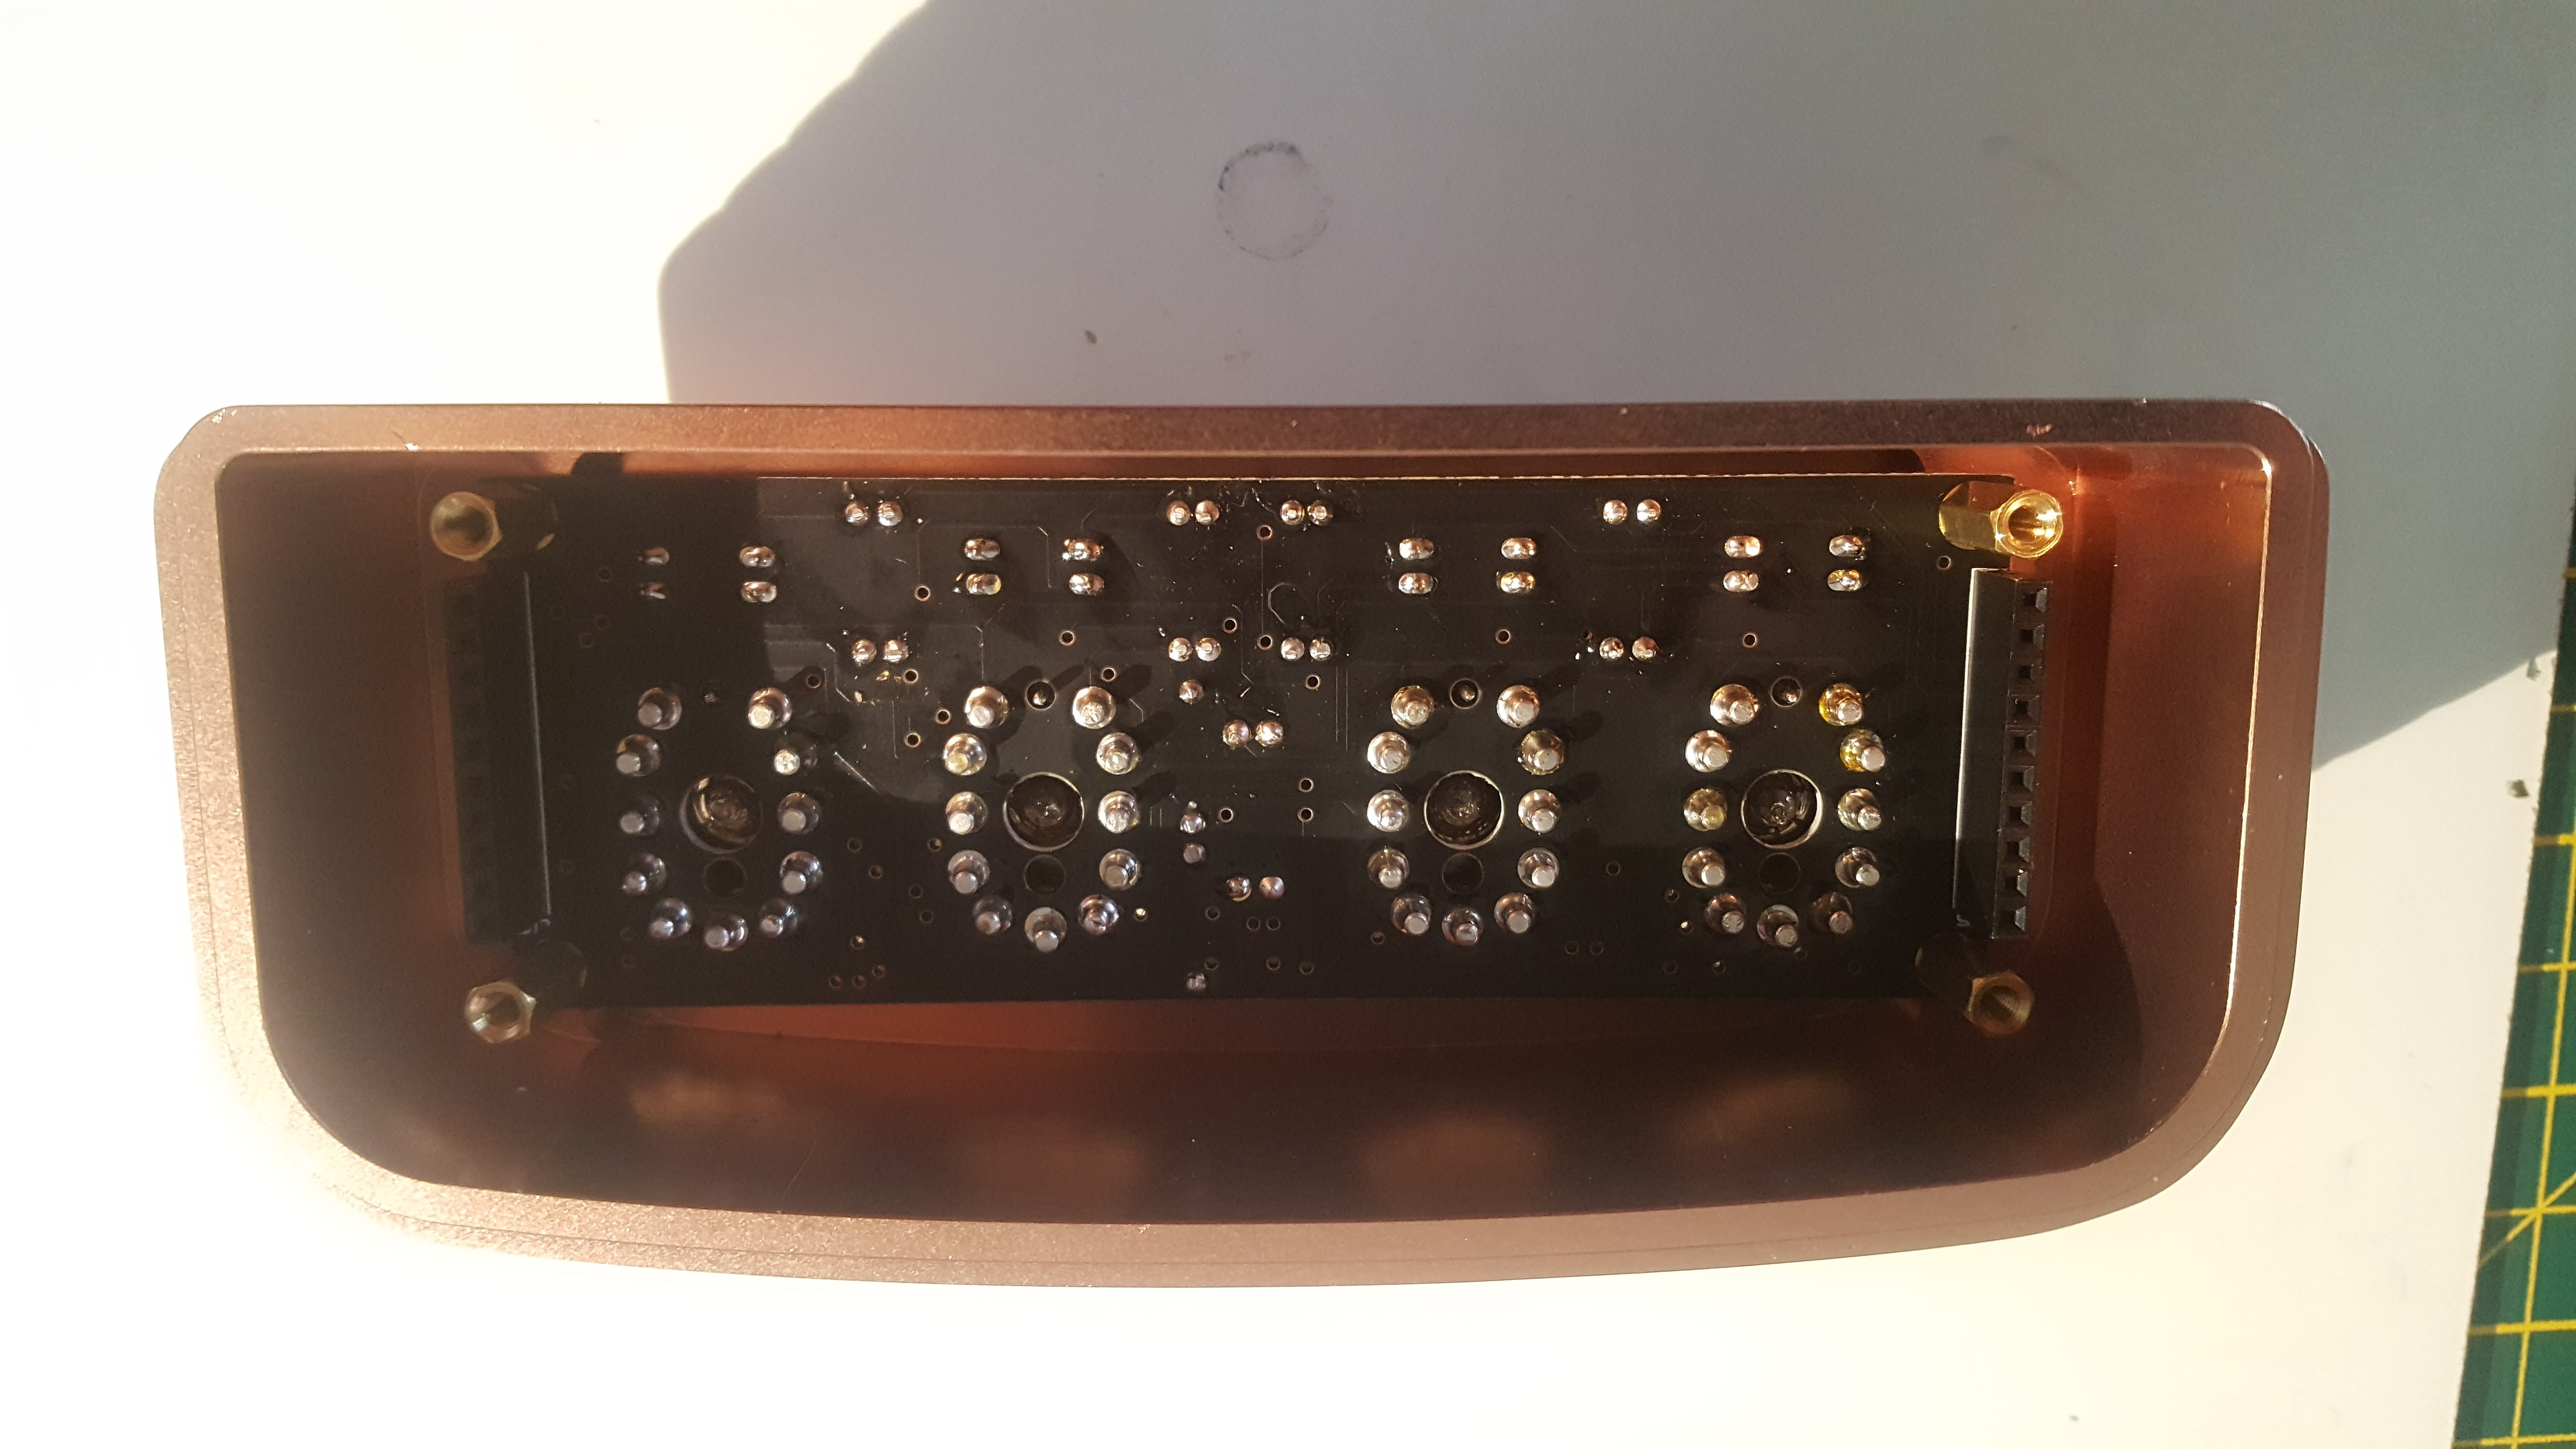
I spent the afternoon building a really nice Nixie tube based FunKlock clock kit that I got from PV Electronics. You can get a bare kit or there are a couple of options for an enclosure - a clear acrylic one which shows off the circuity nicely or the copper finned one I went for which has a very Art Deco look and looks great on display.
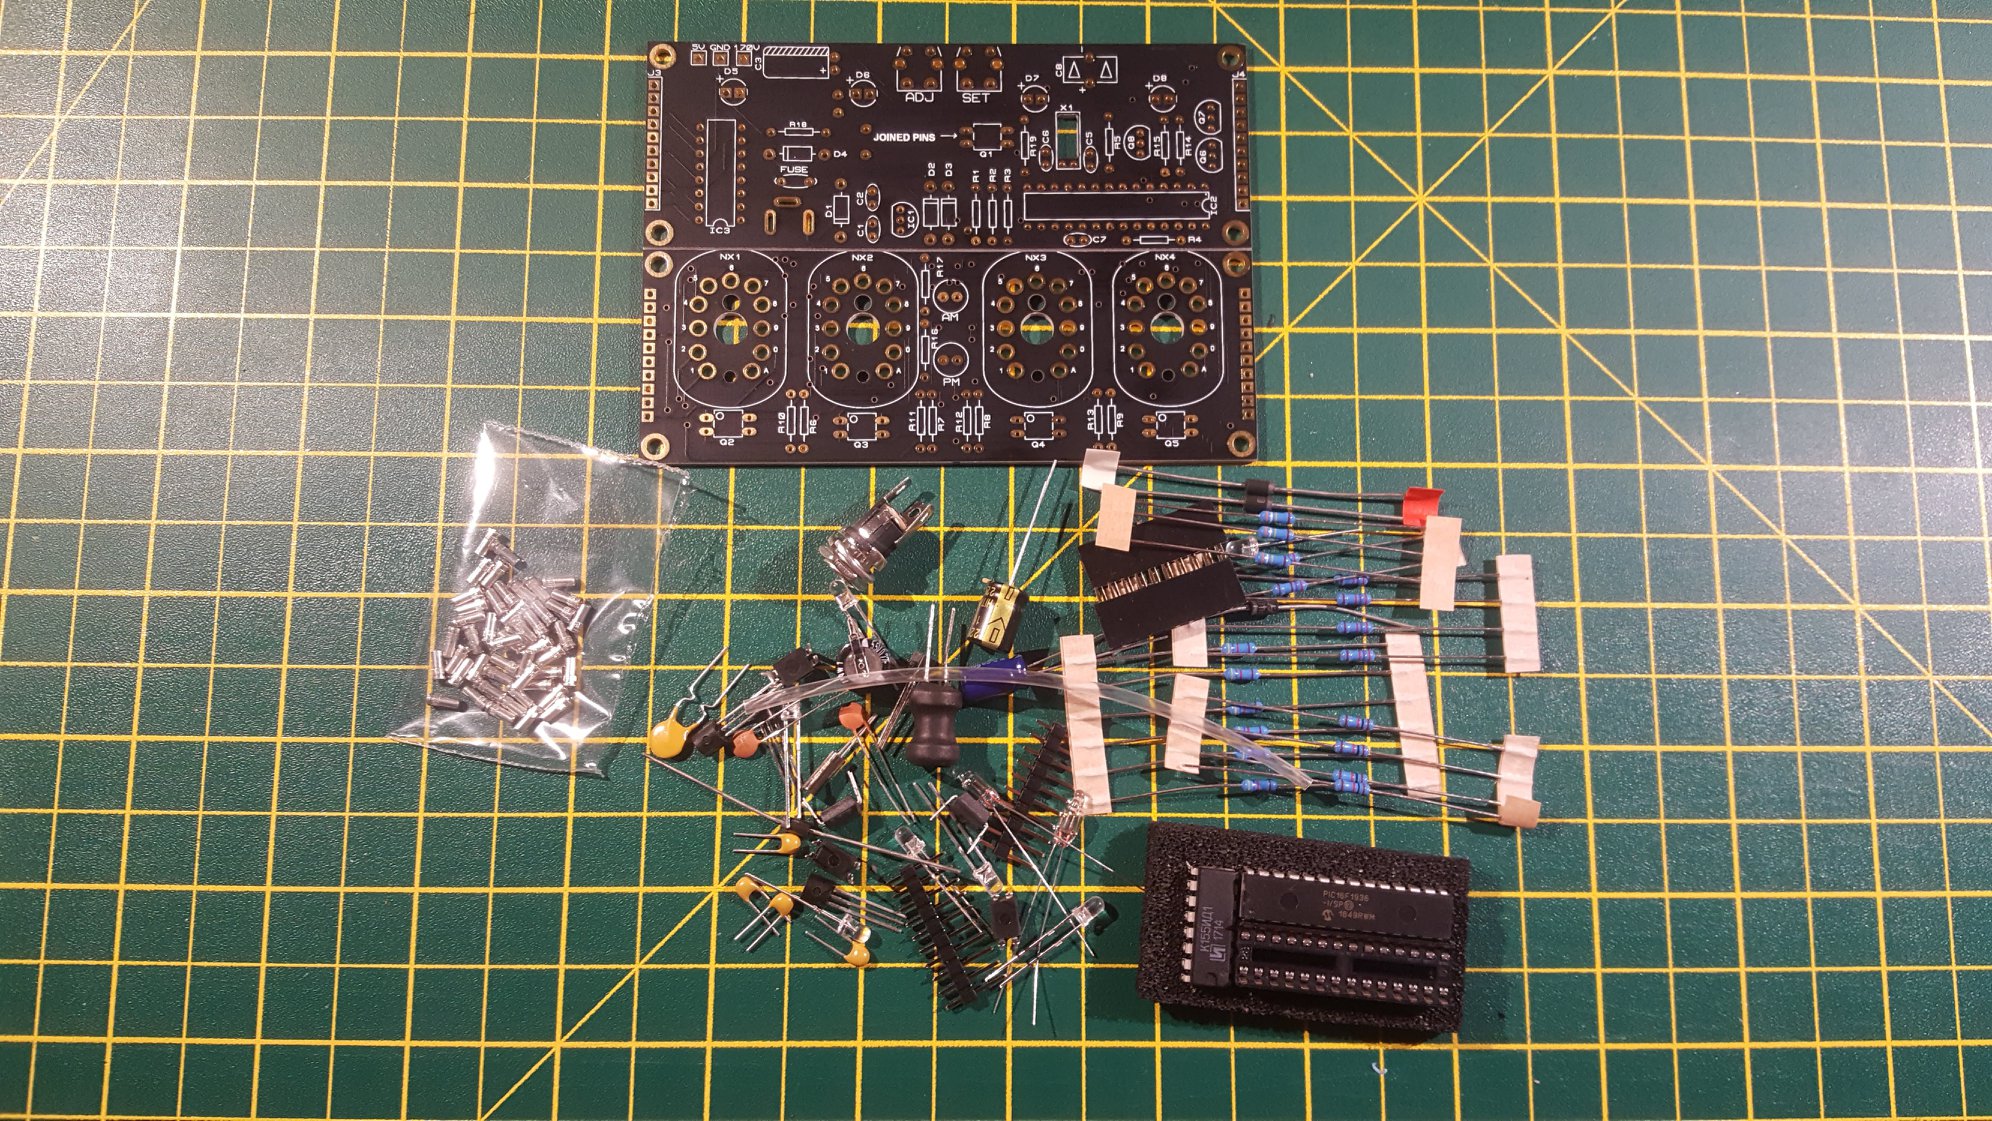
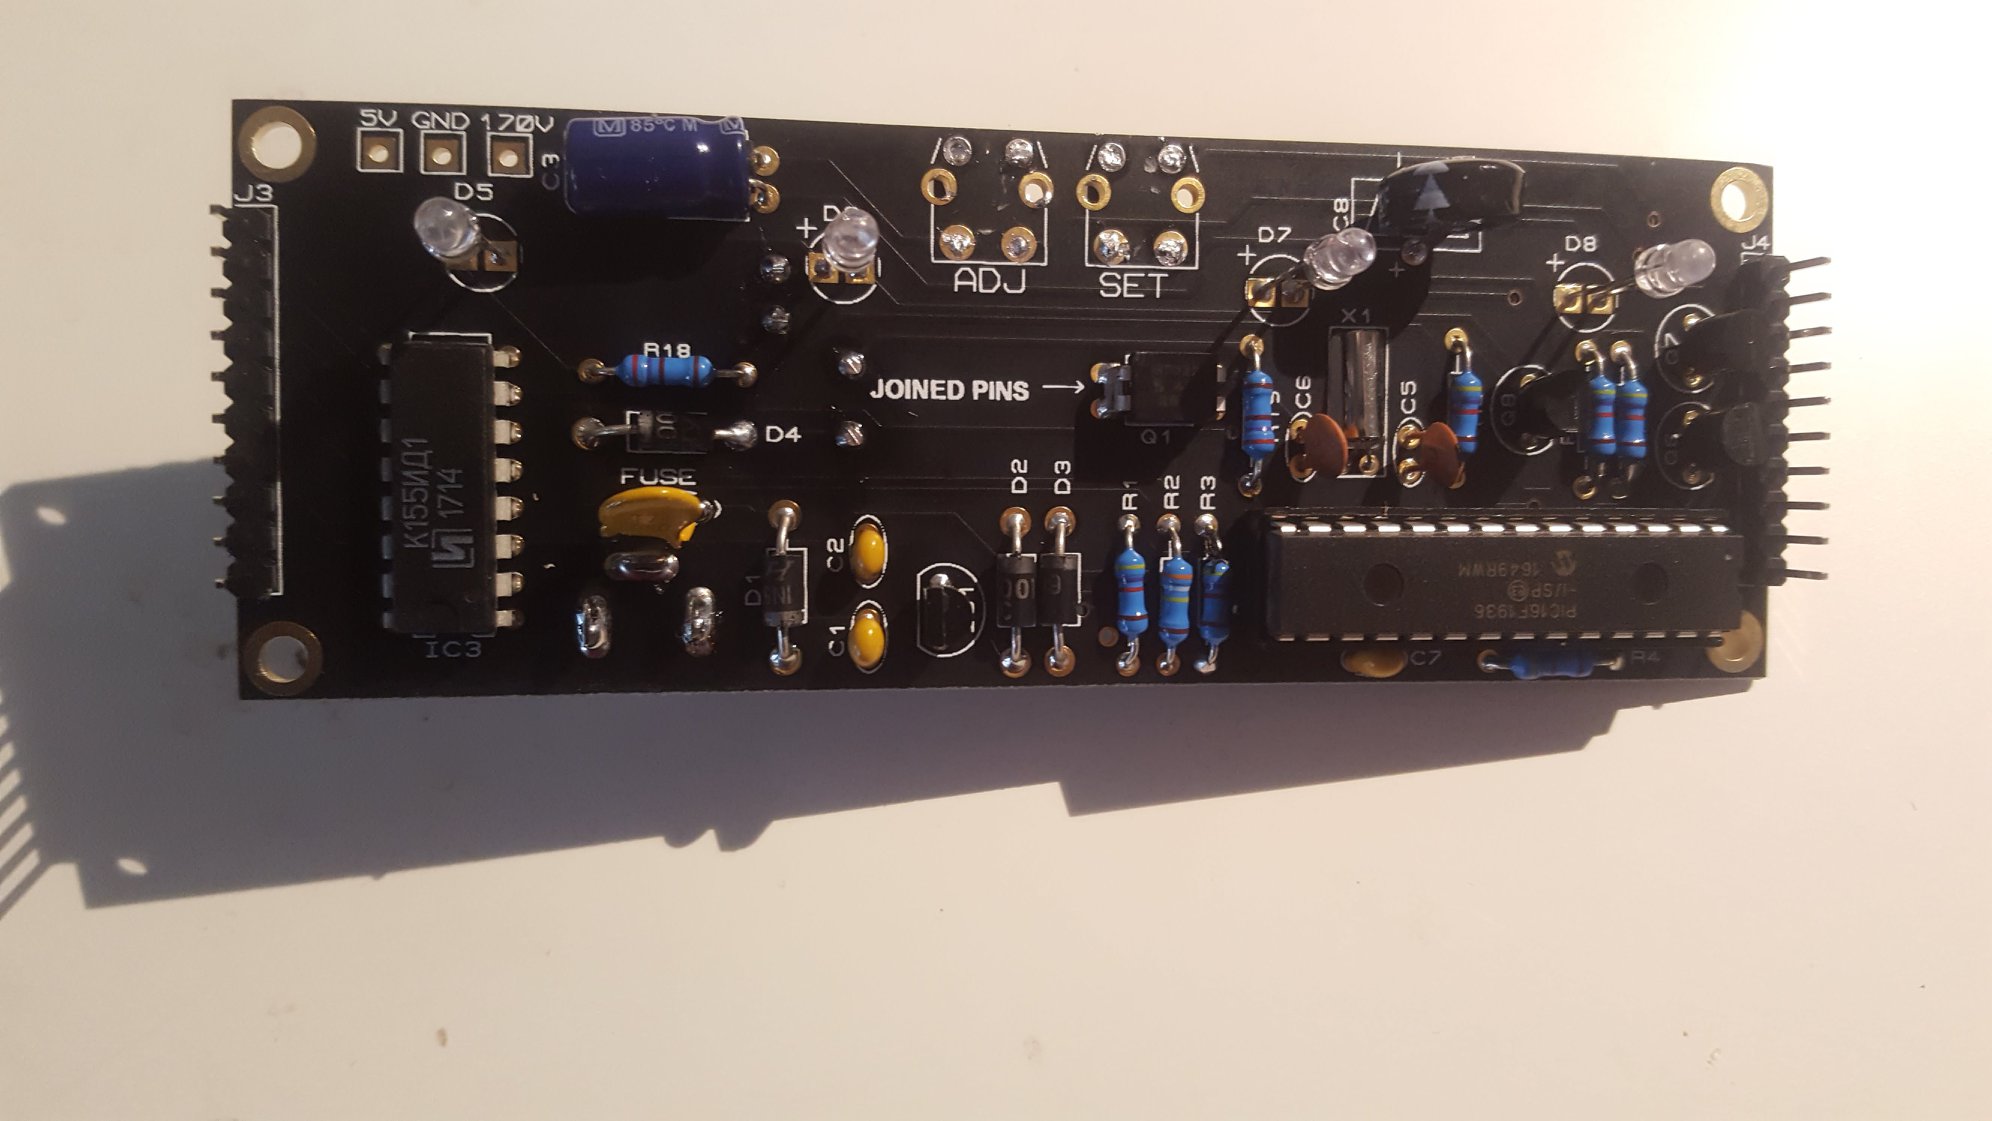
Technically speaking, it comes with IN12 tubes, the enclosure and fixings, a power brick to run it and a few tens of components that need soldering to a PCG. No need for any surface mount skills as, at least in the kit version I bought, everything was through hole stuff.
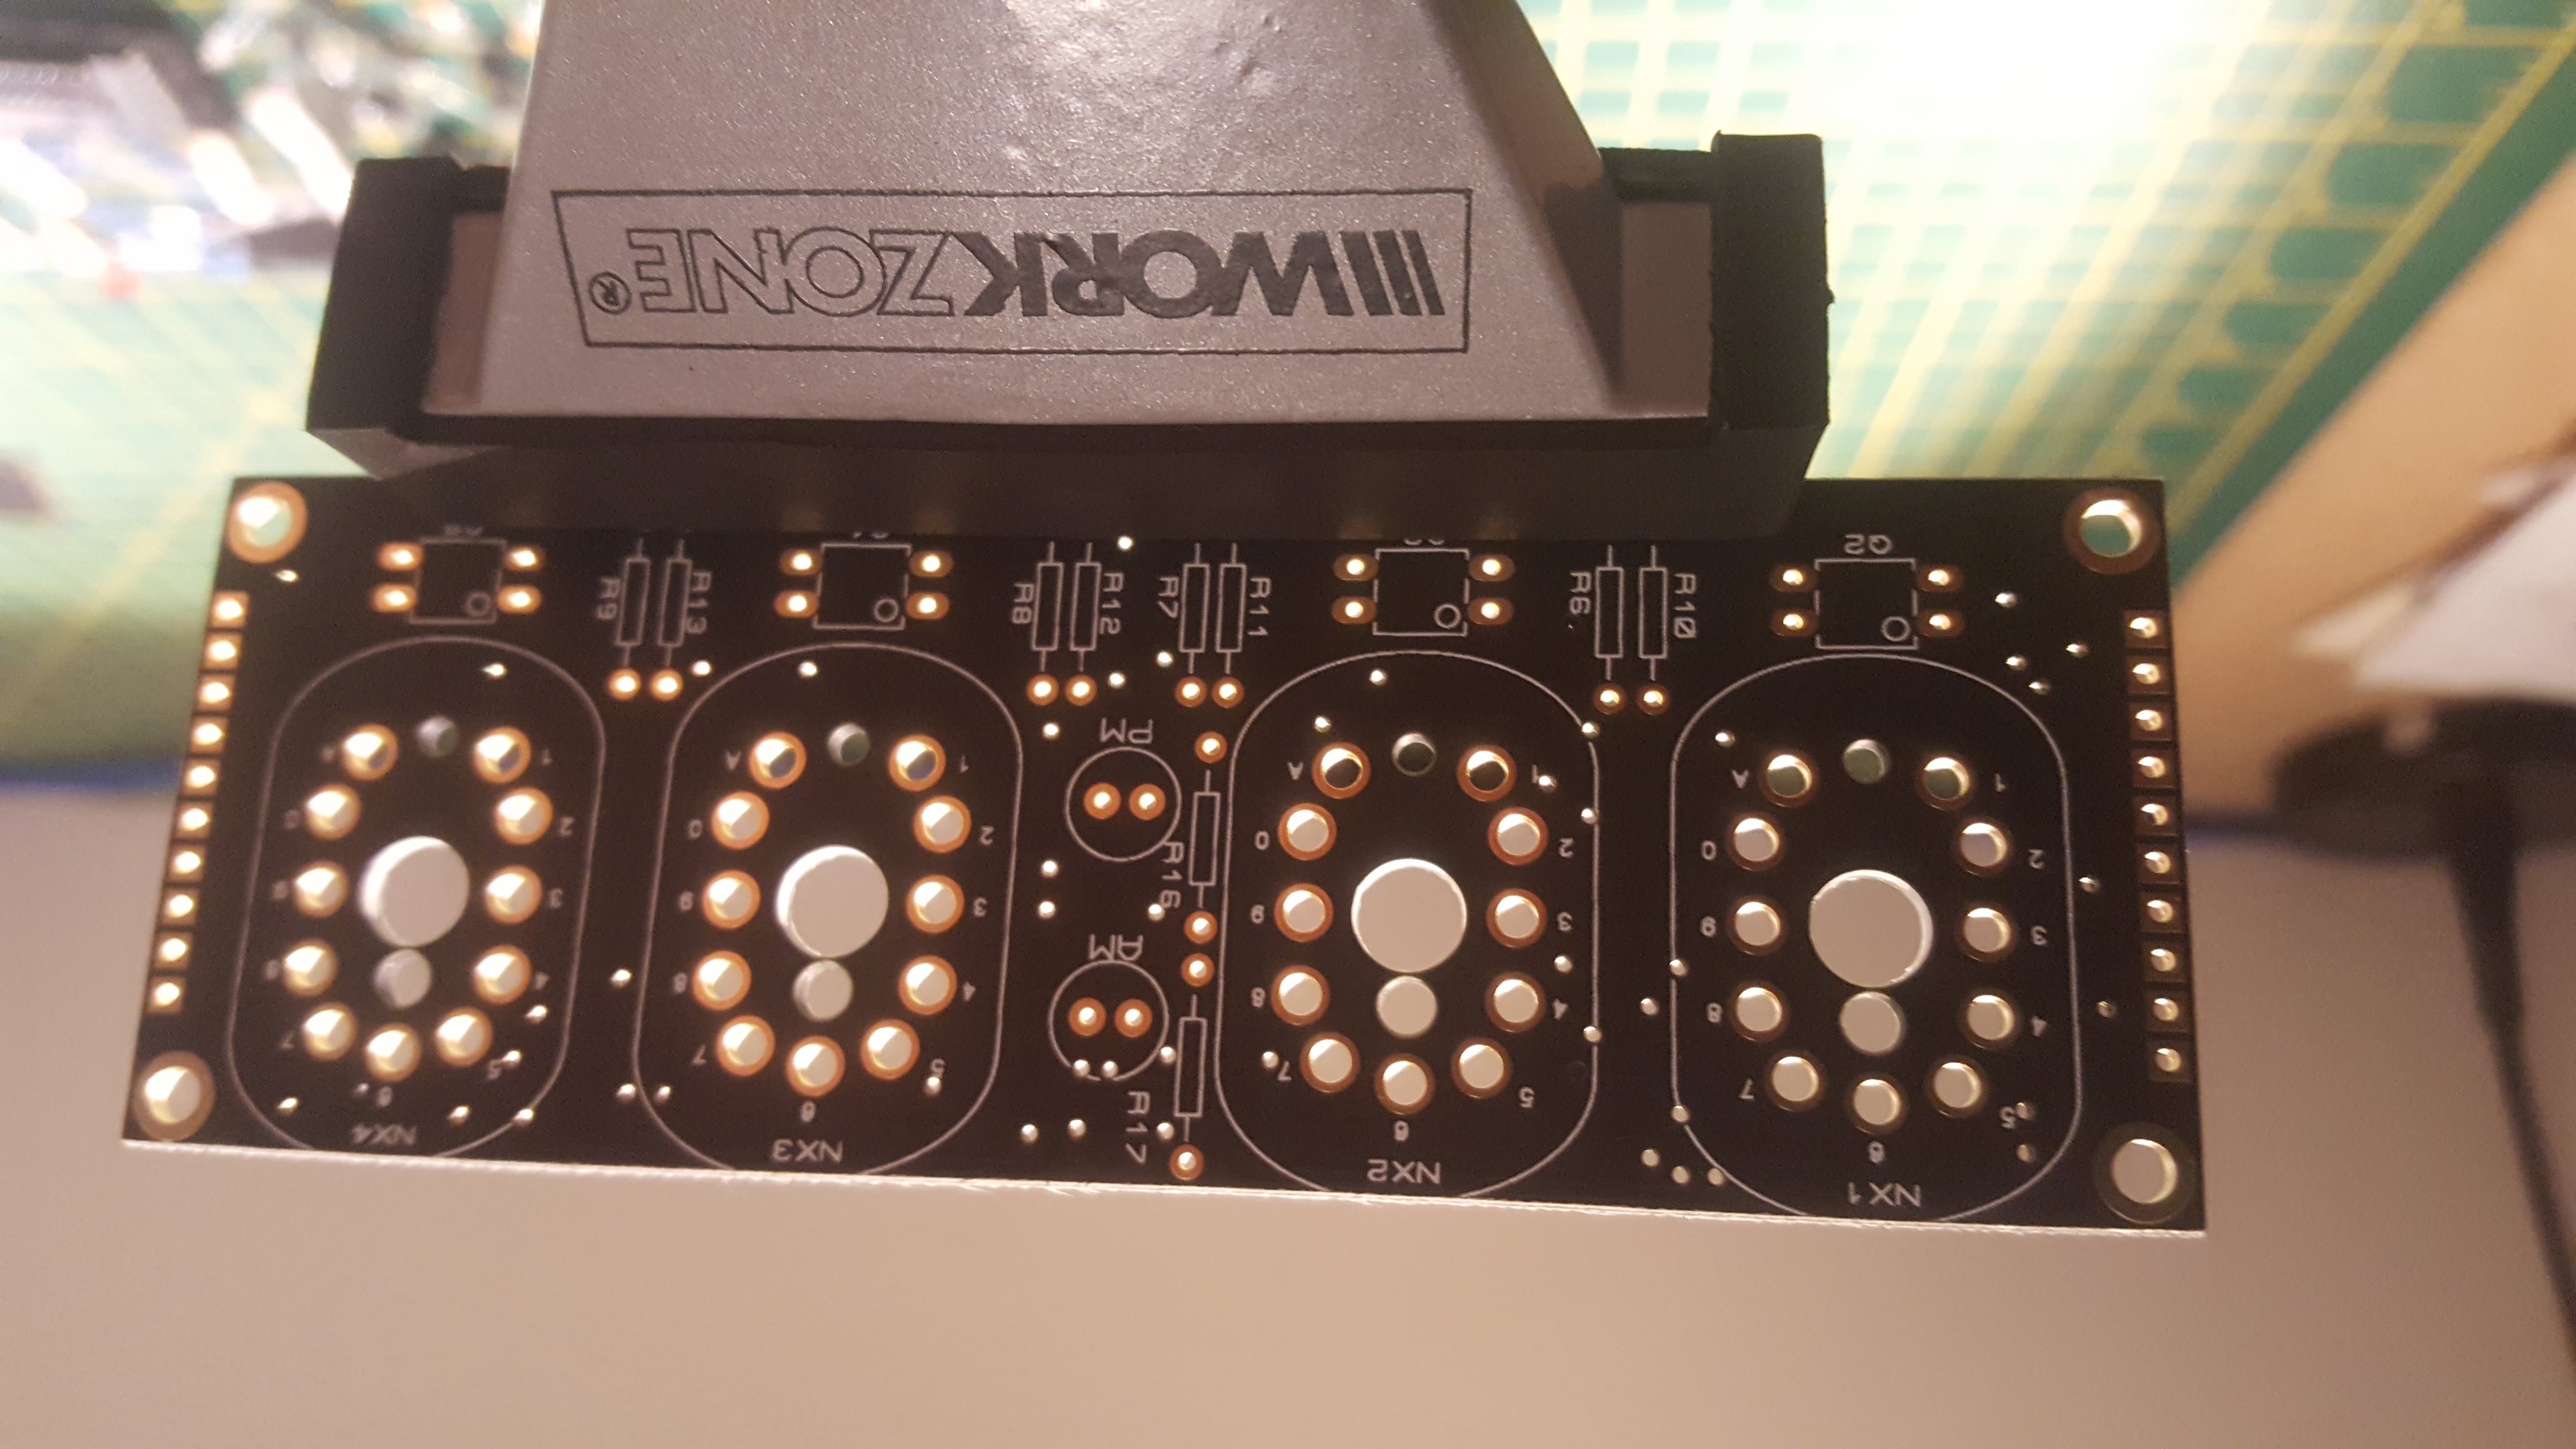
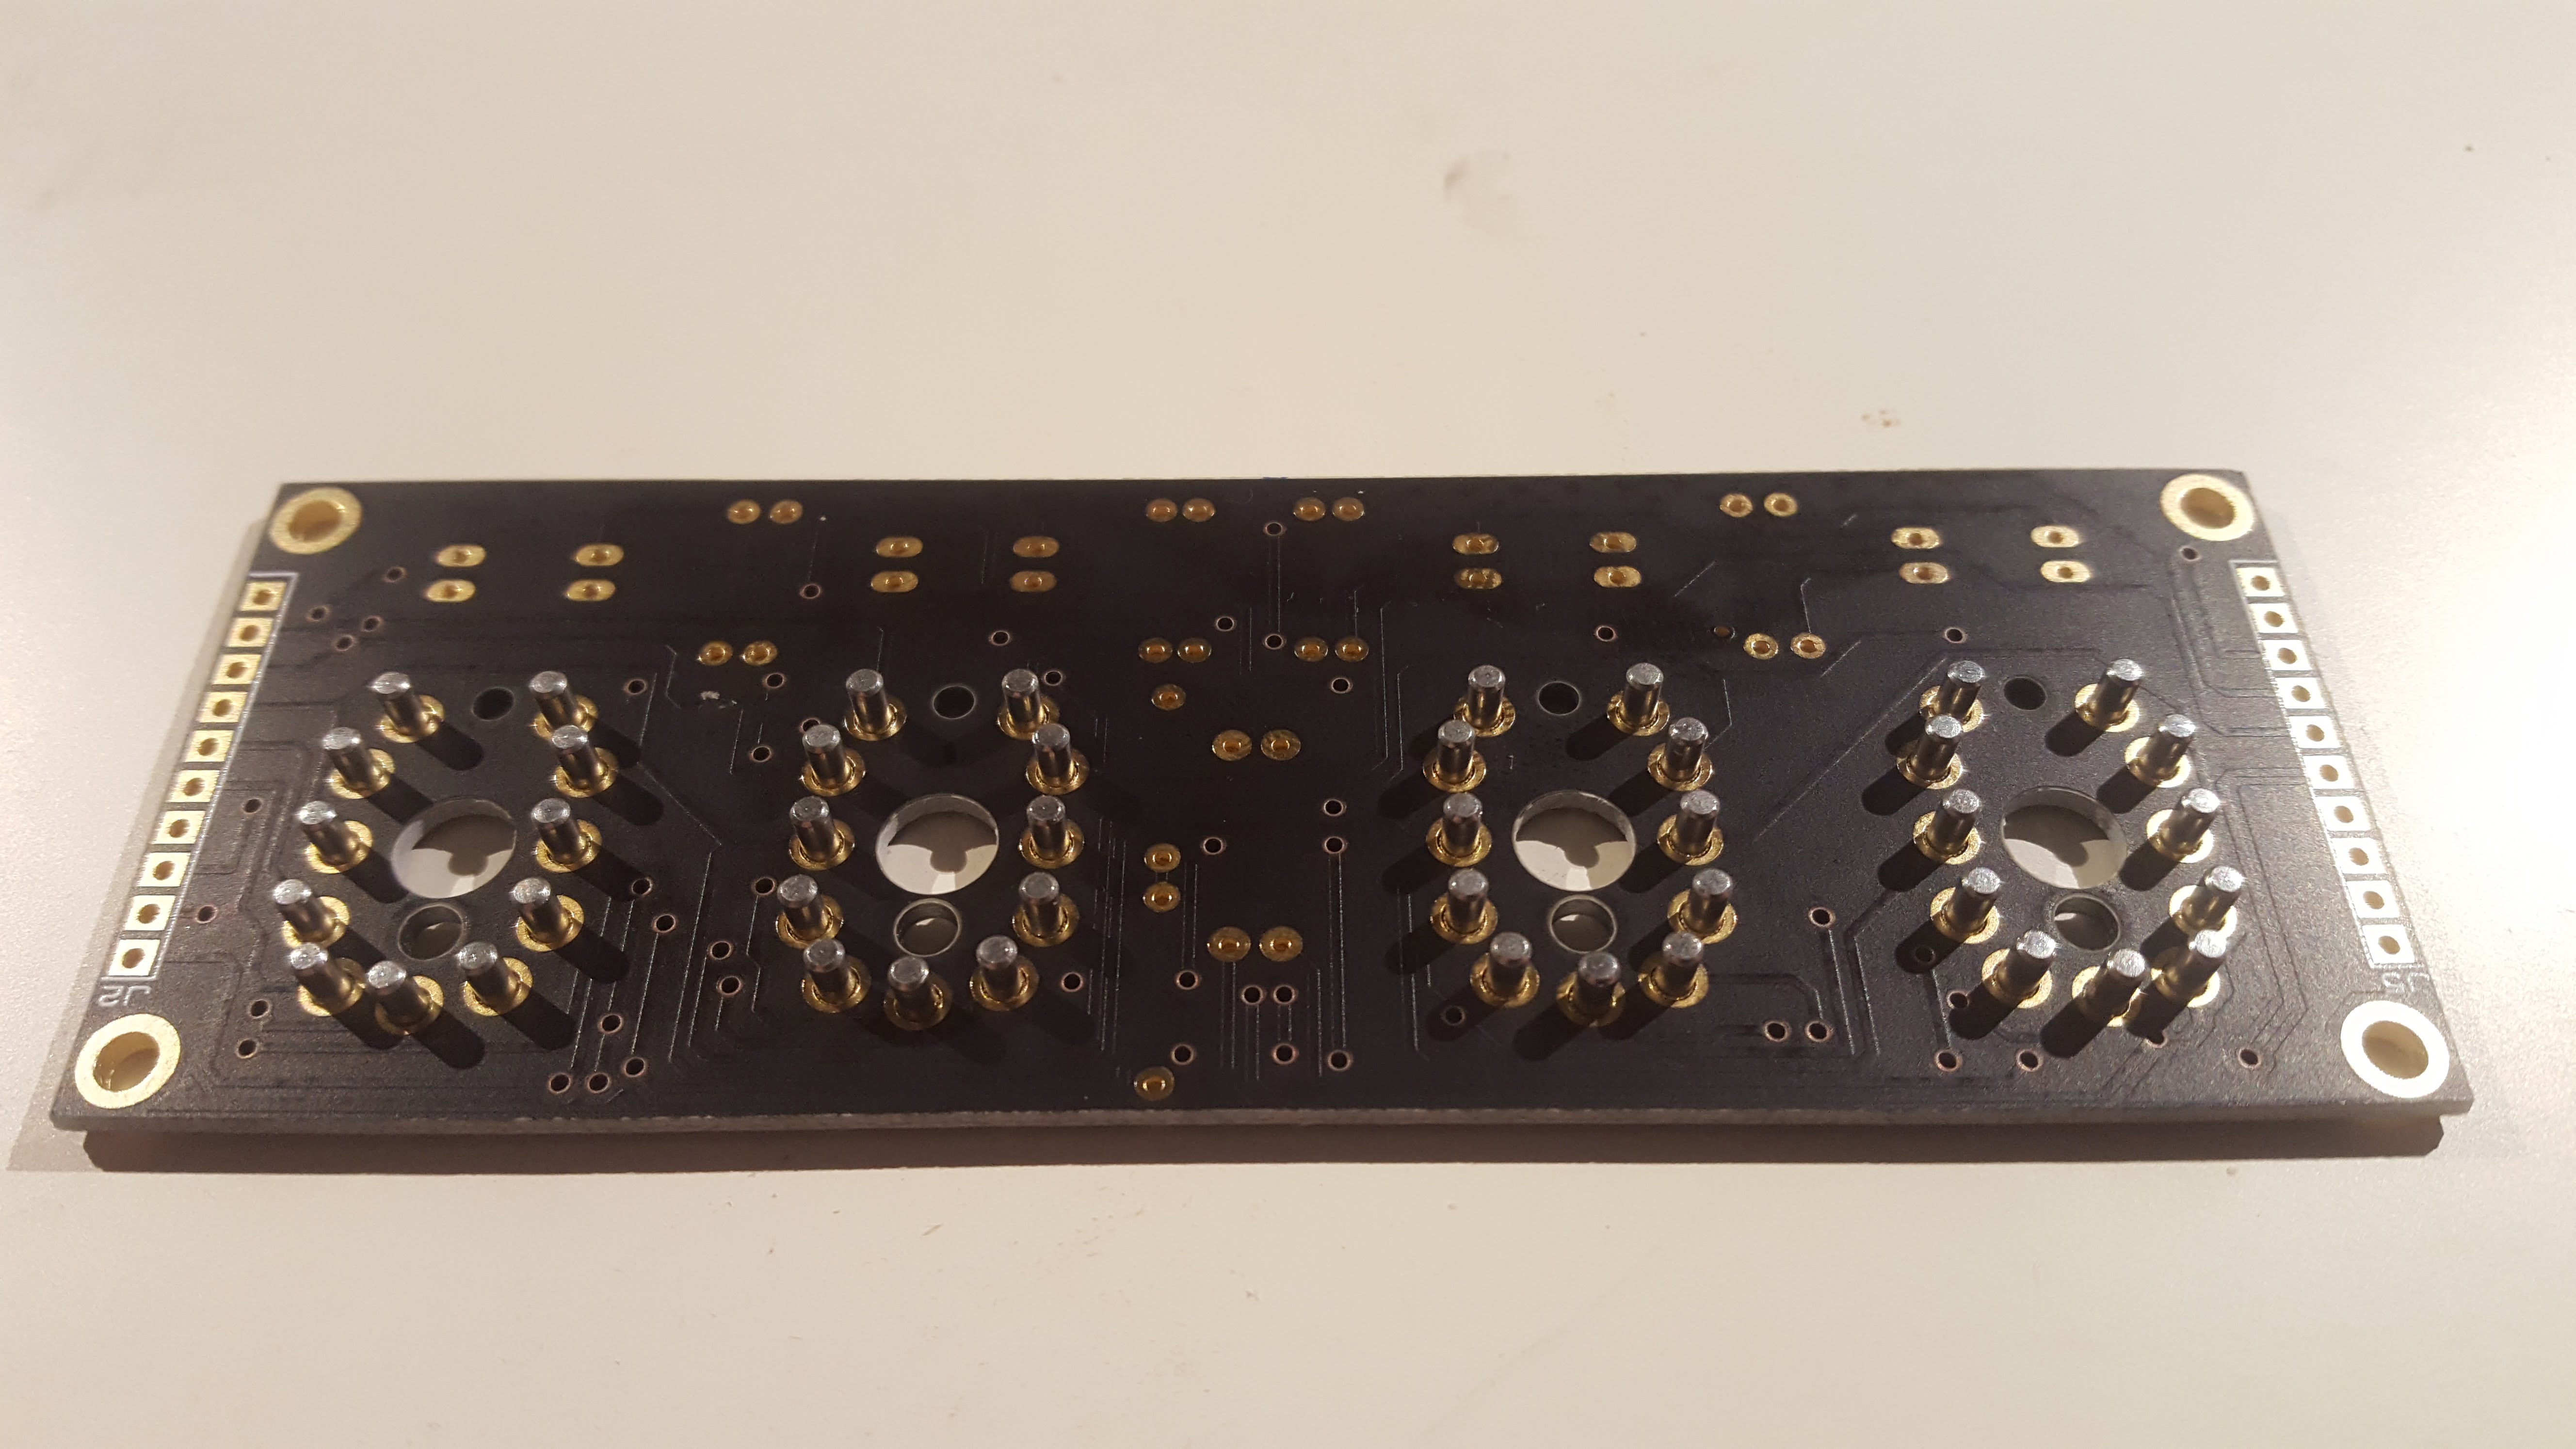
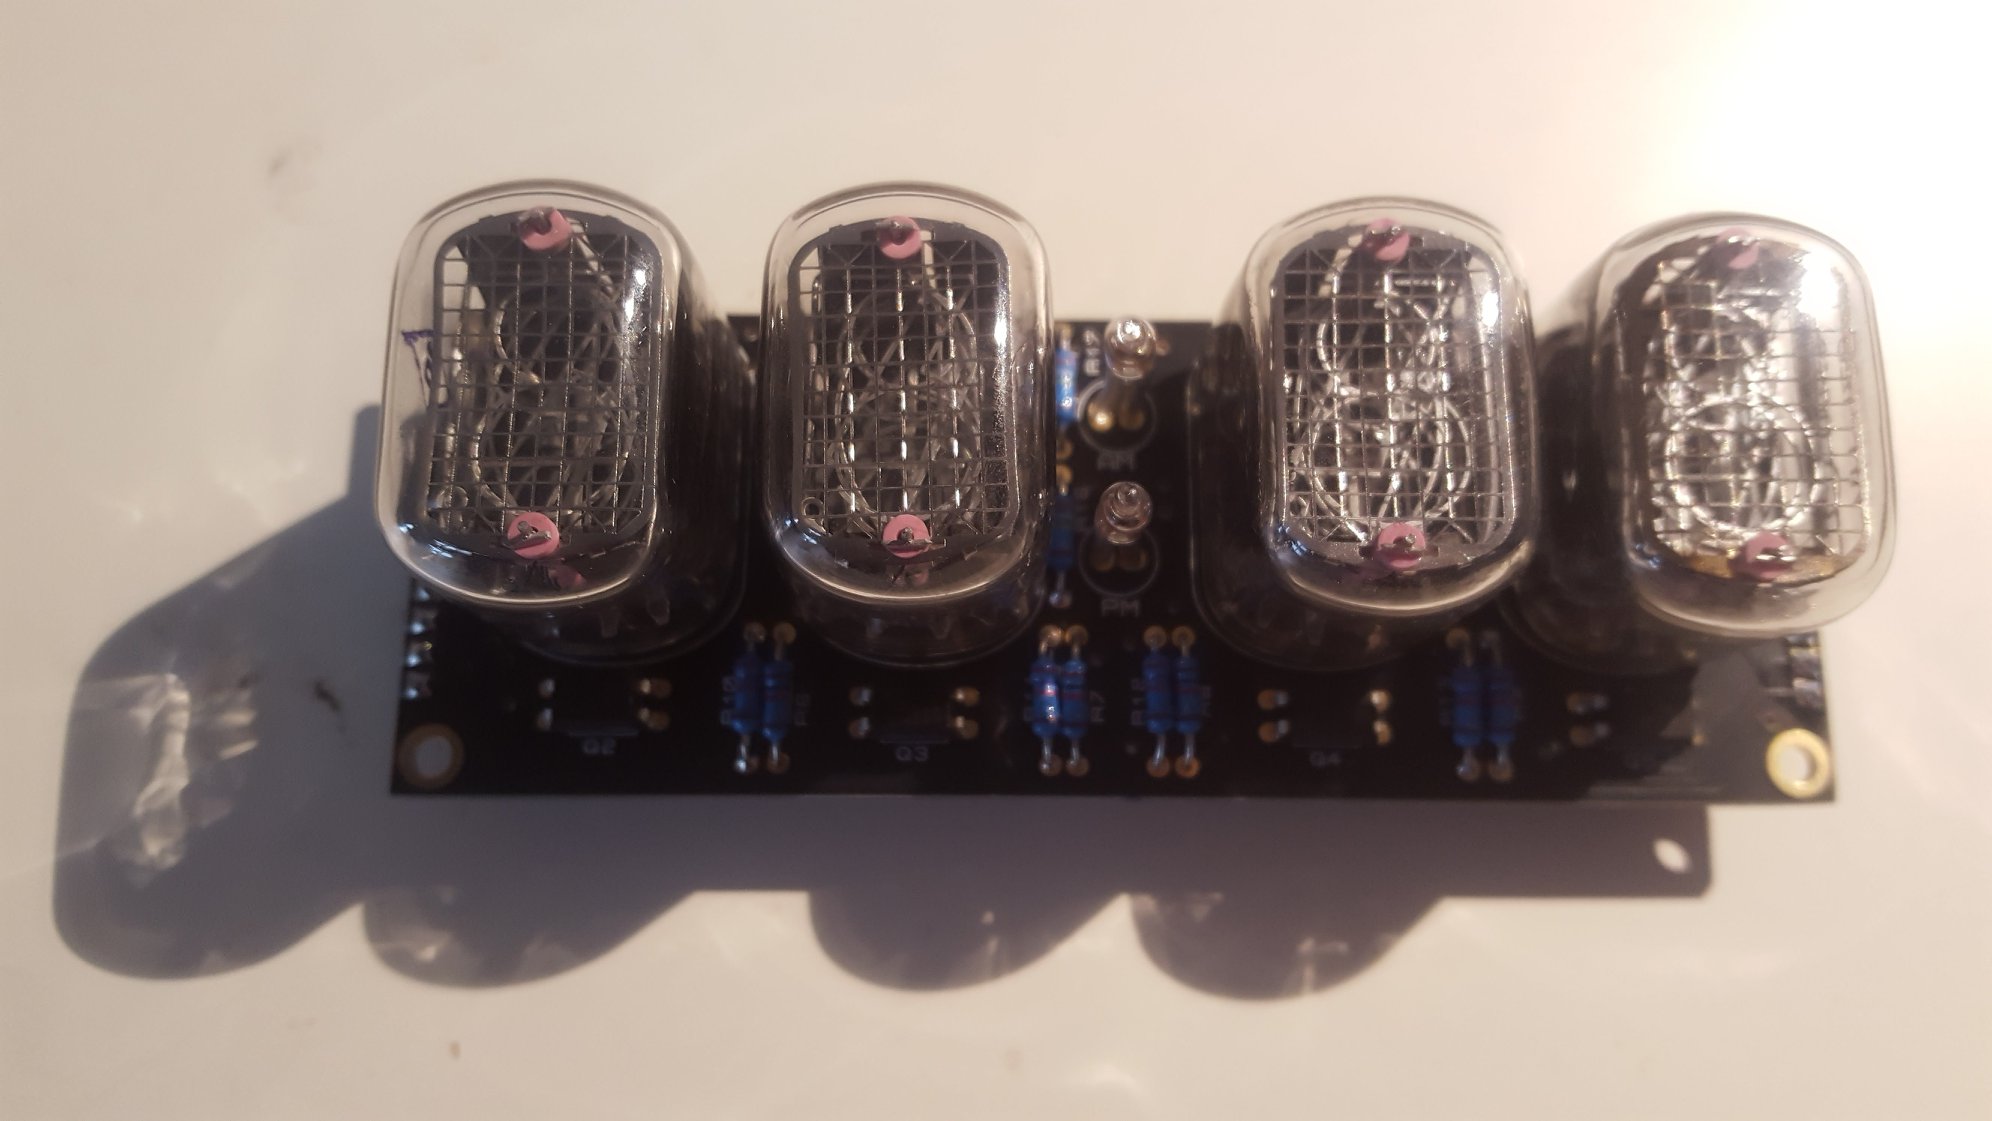
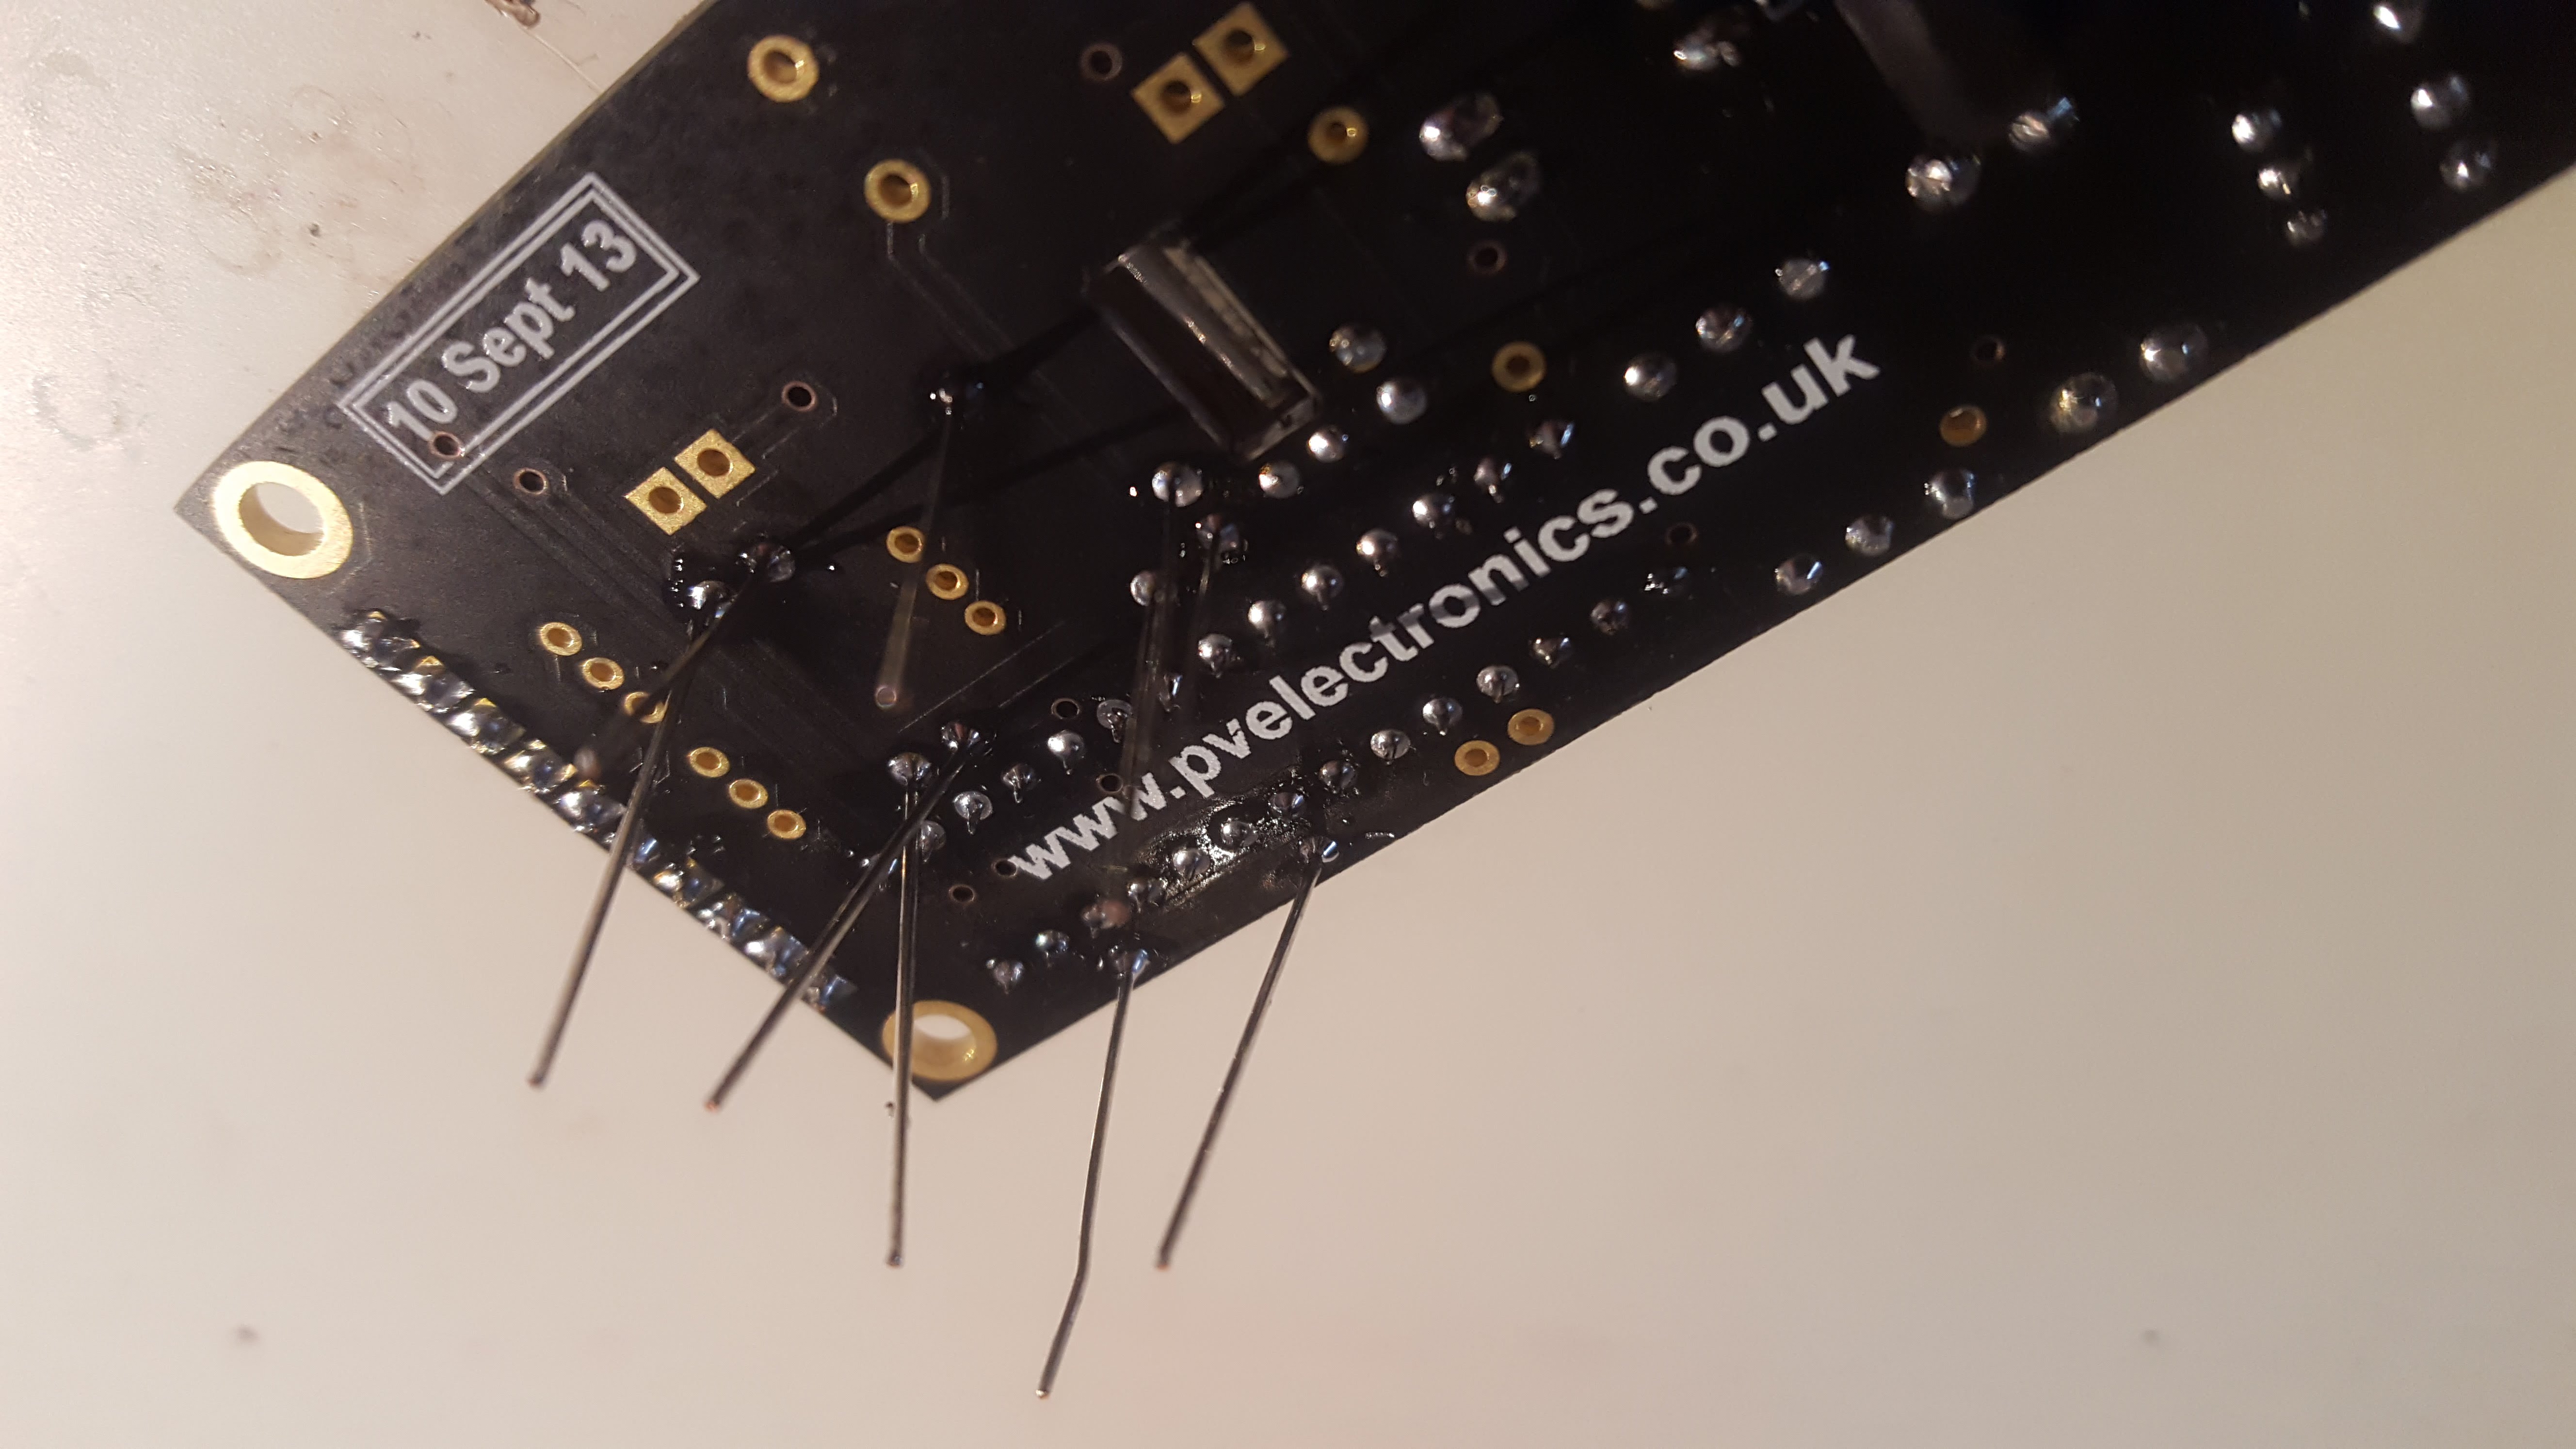
With the exception of me soldering a couple of switches to the wrong side of the board like an idiot, it went together pretty well. All told it took me a couple of hours to build and setup. The instructions and documentation are very clear and it was a nice simple build. End result? Looks really good.
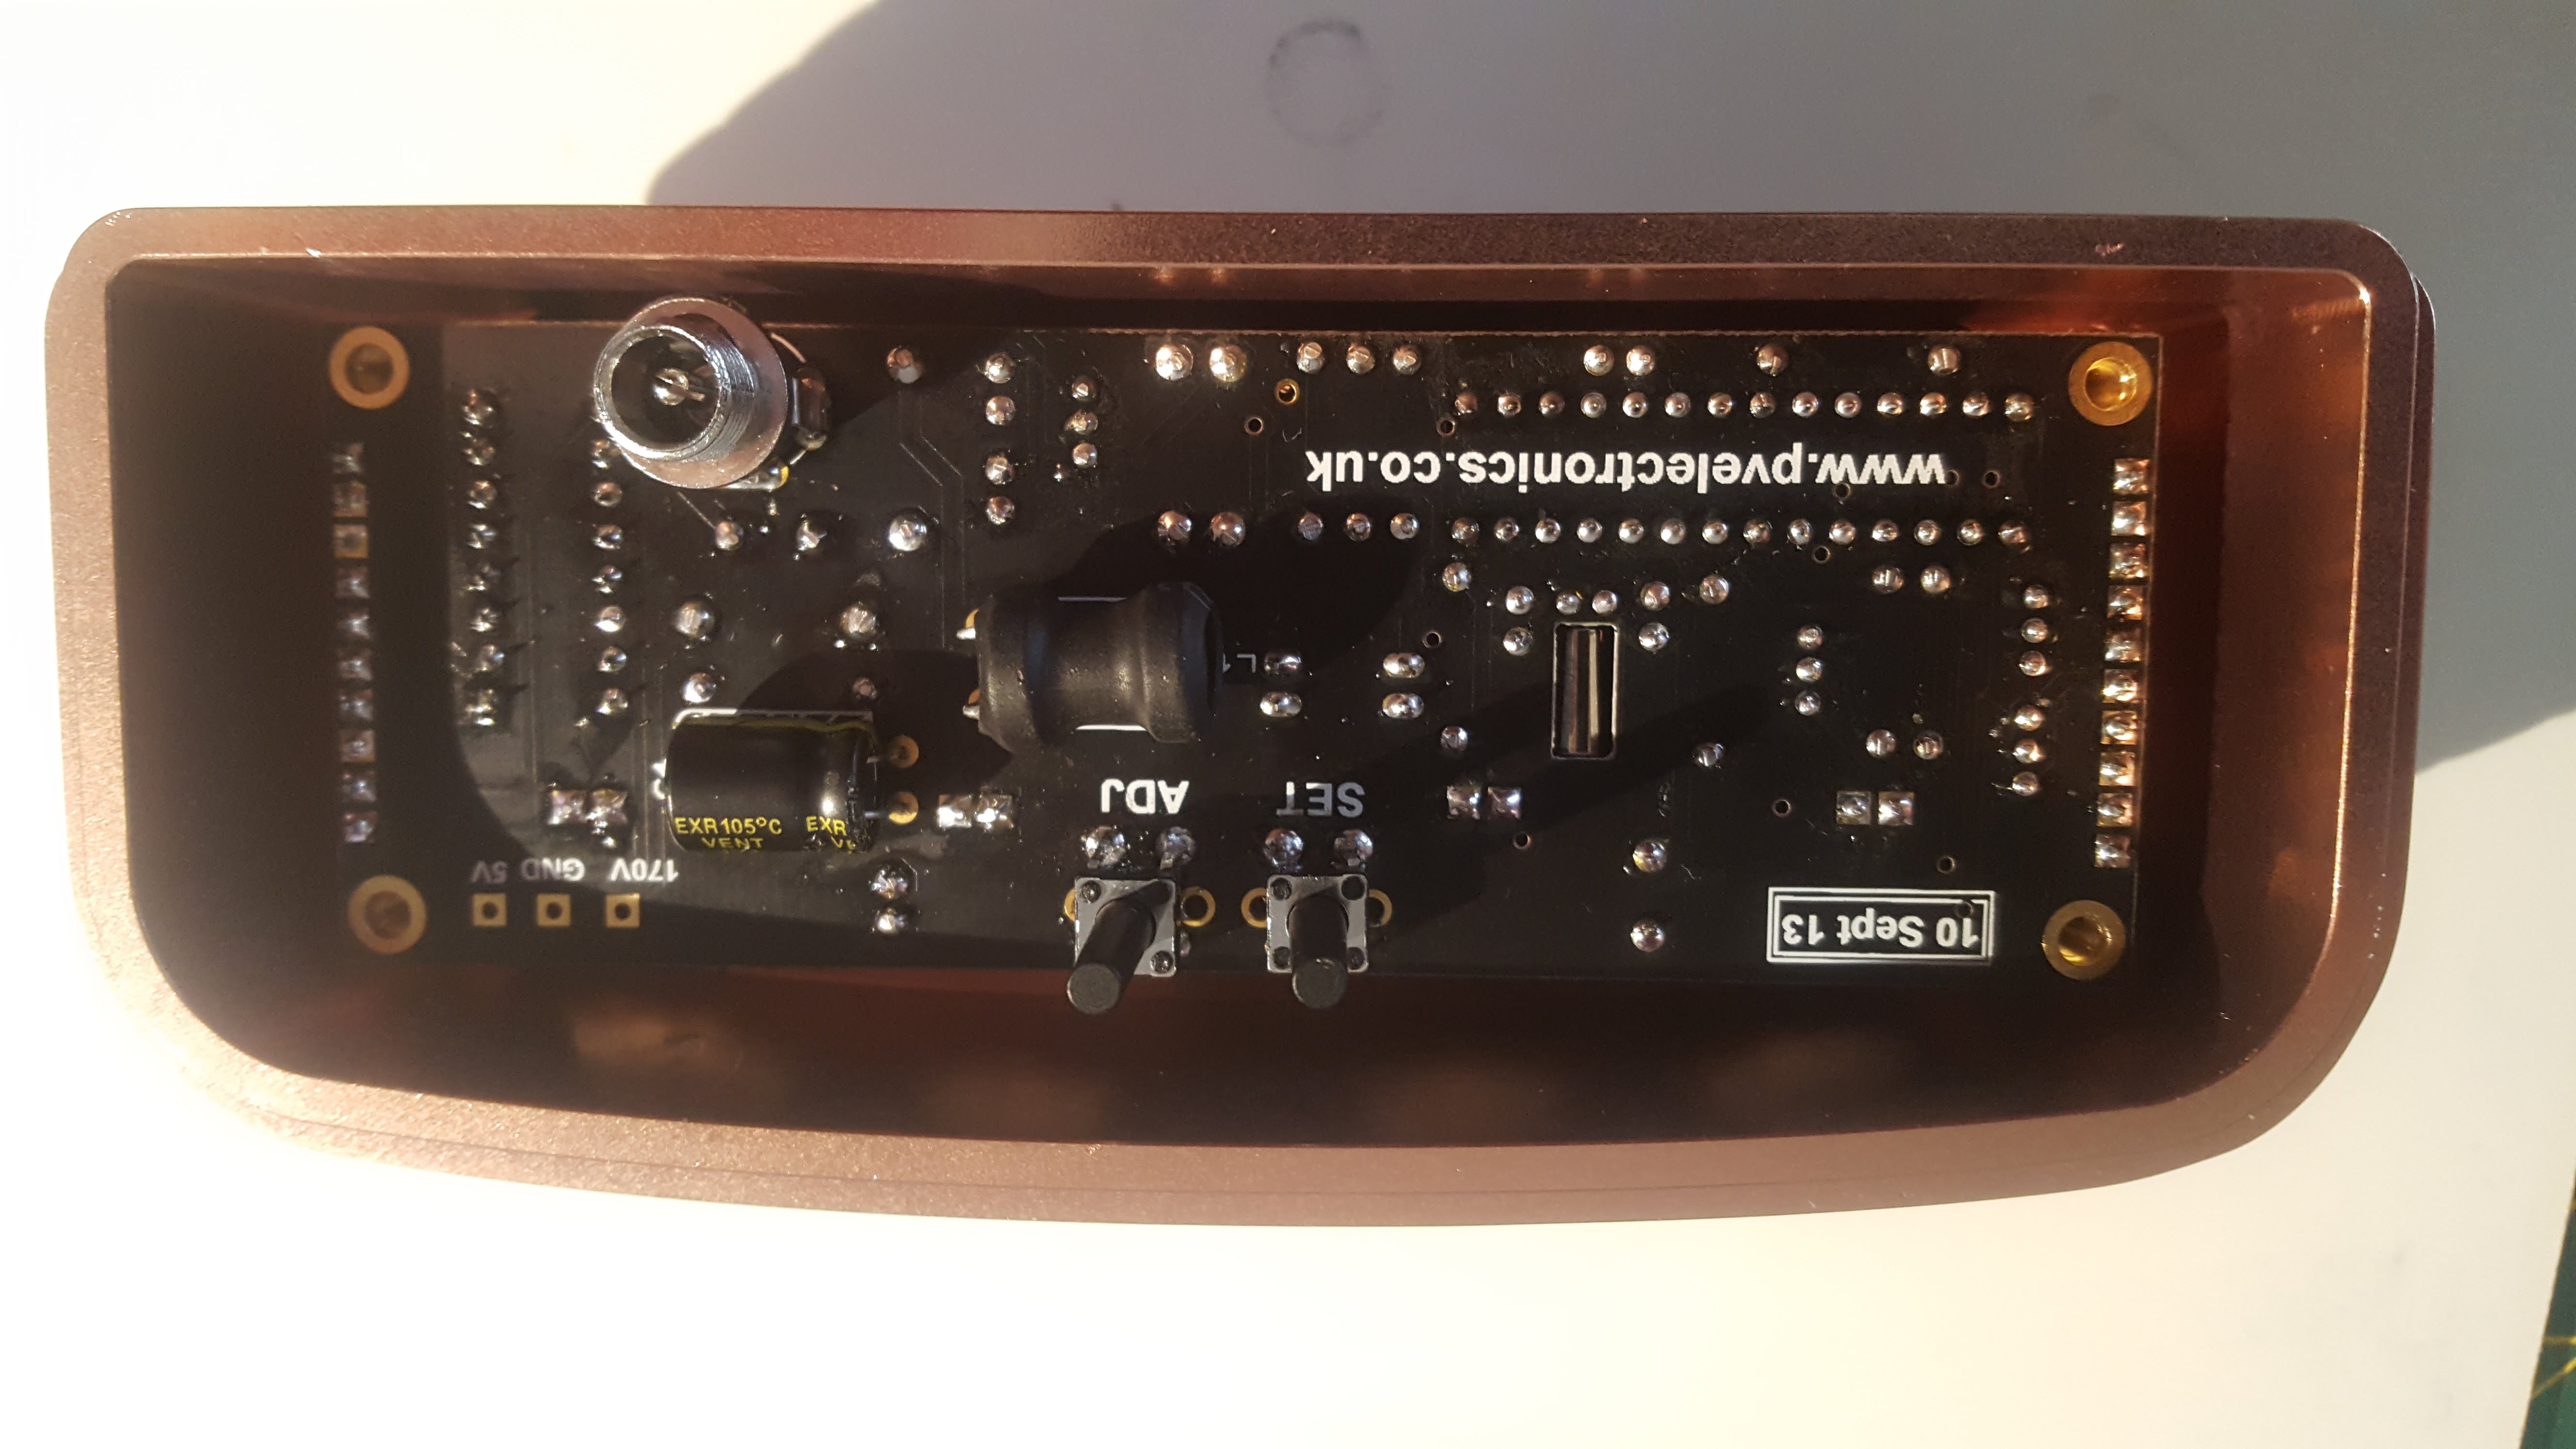
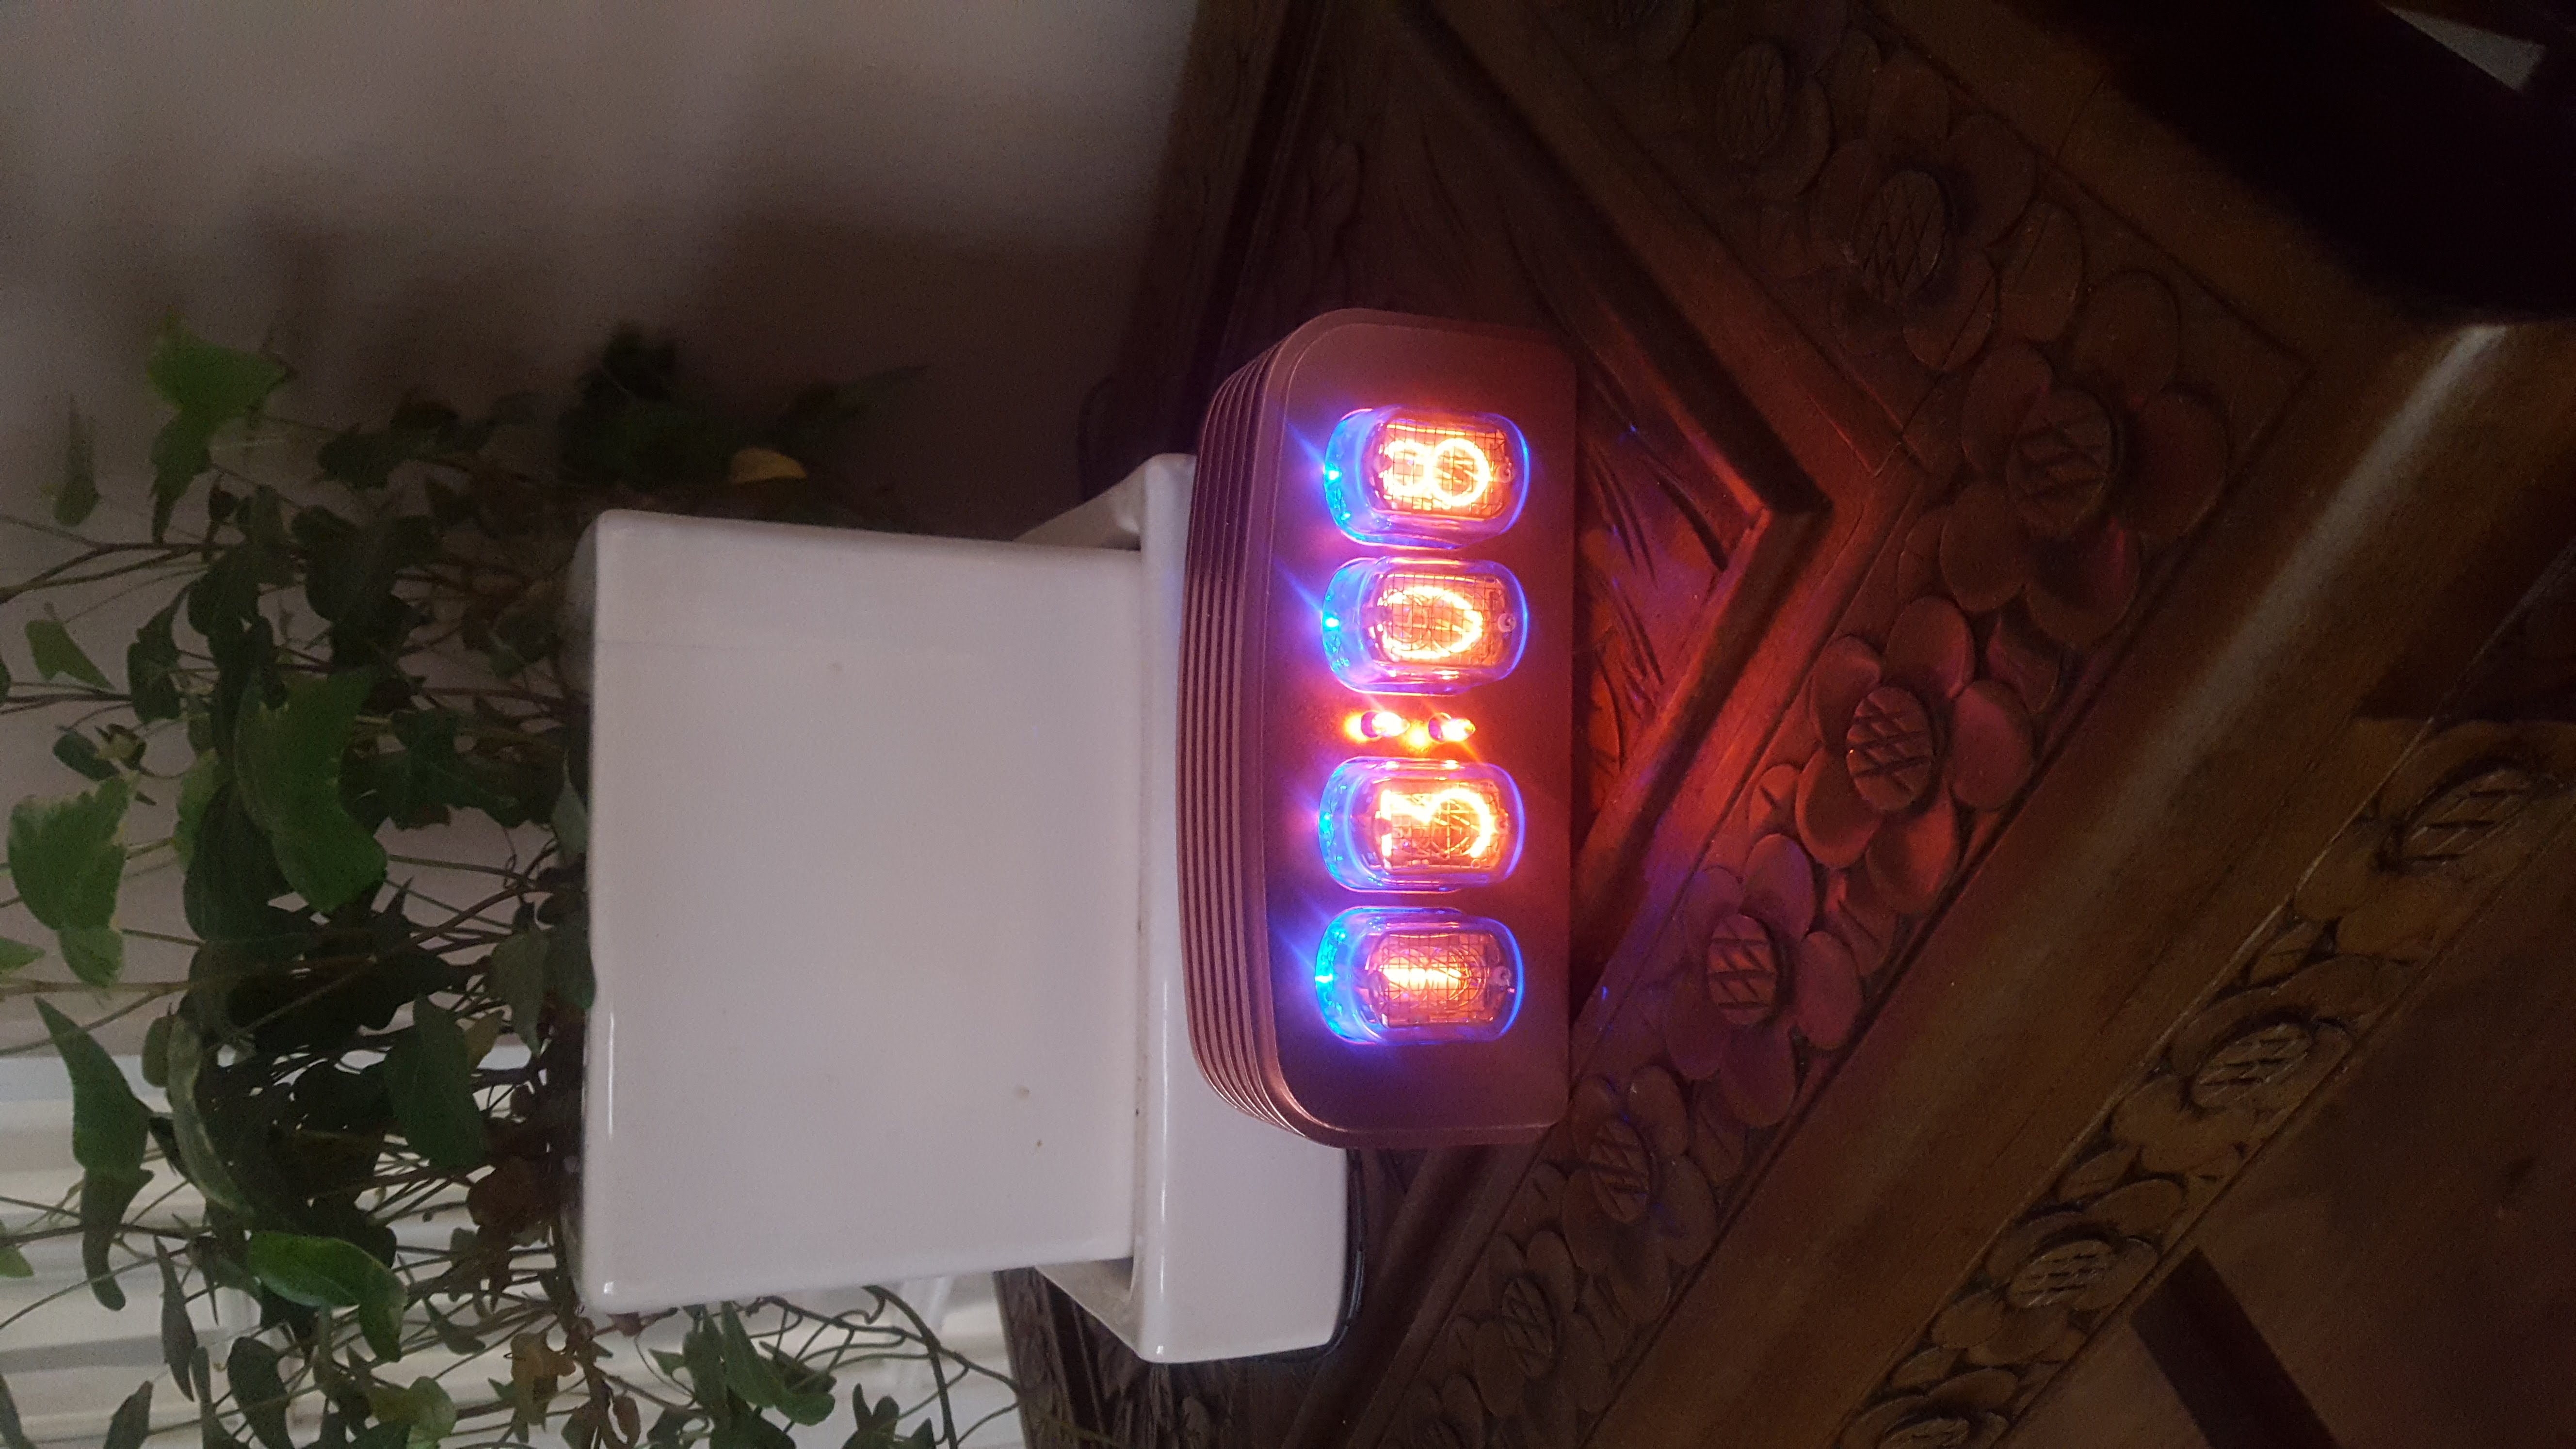
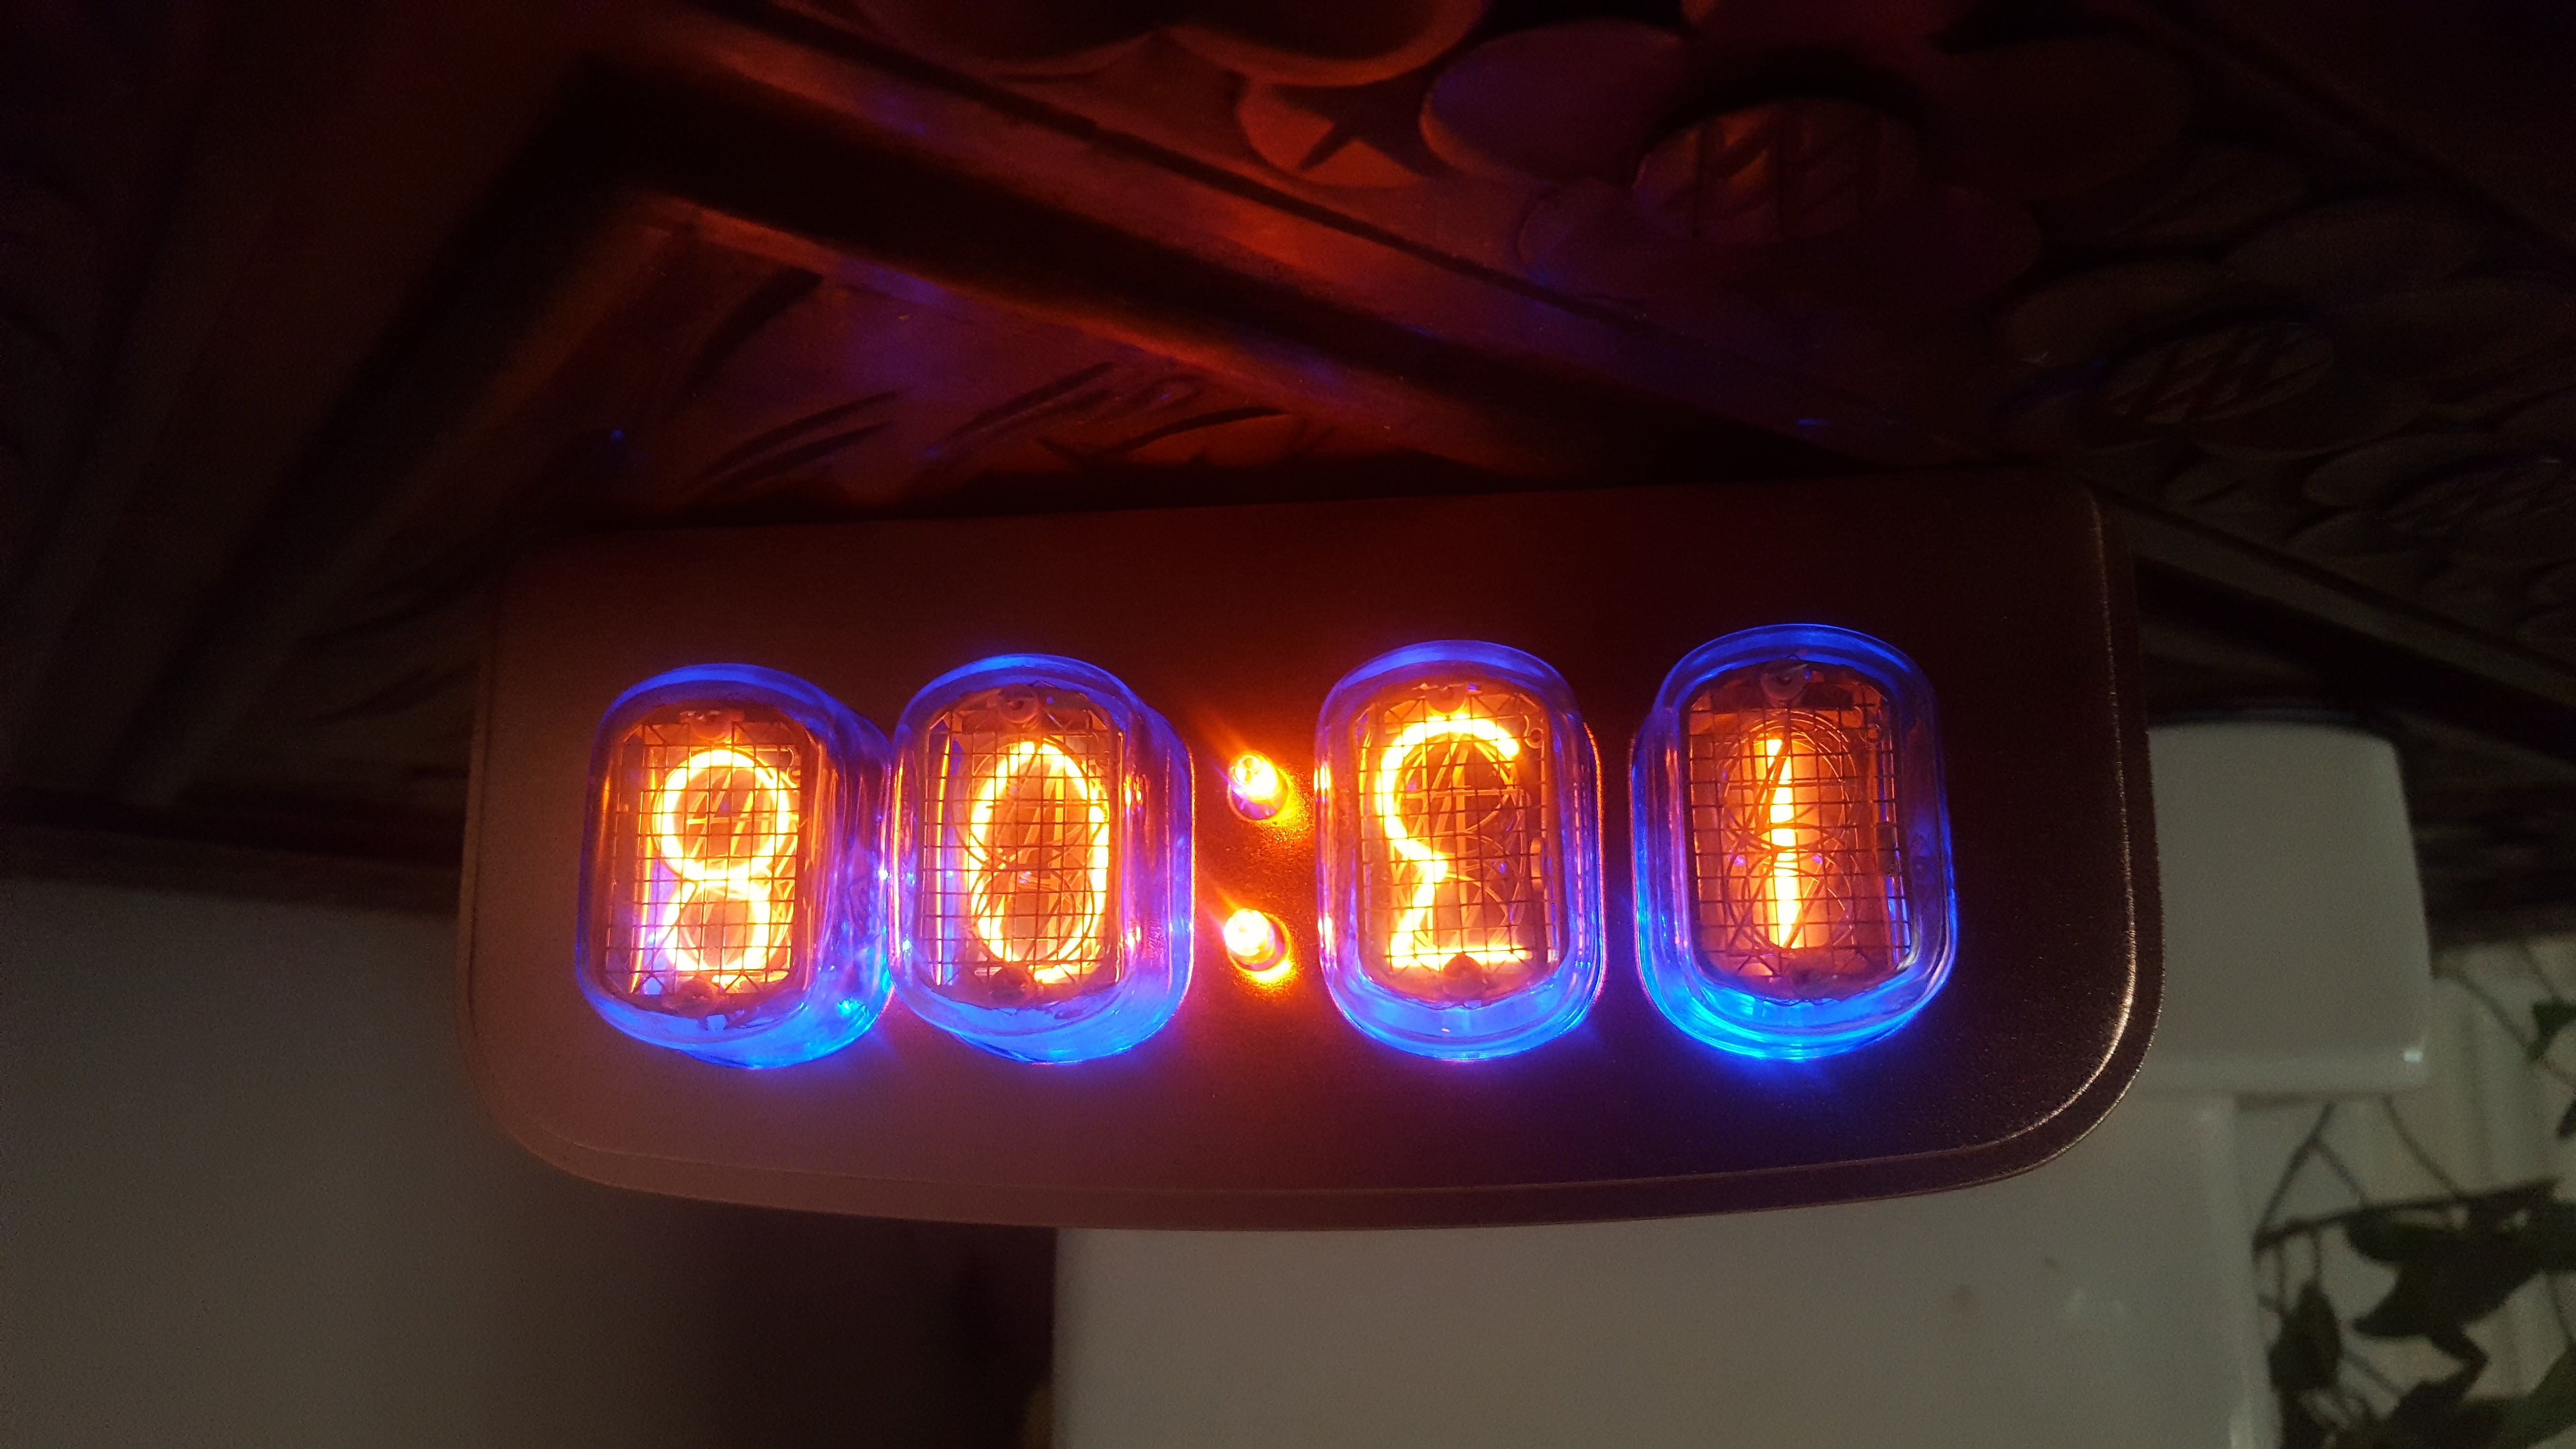
It doesn’t do anything fancy like syncing to a time server over the internet so you’ll need to manually adjust it for daylight savings time and if it drifts over longer time periods. Mine seems to lose about 1.5 seconds per day.
To set the time: